
Lighting CG Objects through Compositing
Objective :
To recreate light and shadows from reference photography in 3D world and add 3D elements into the photography.
Self Goal from Project :
To be able to re create the stair shadows as the object animates.
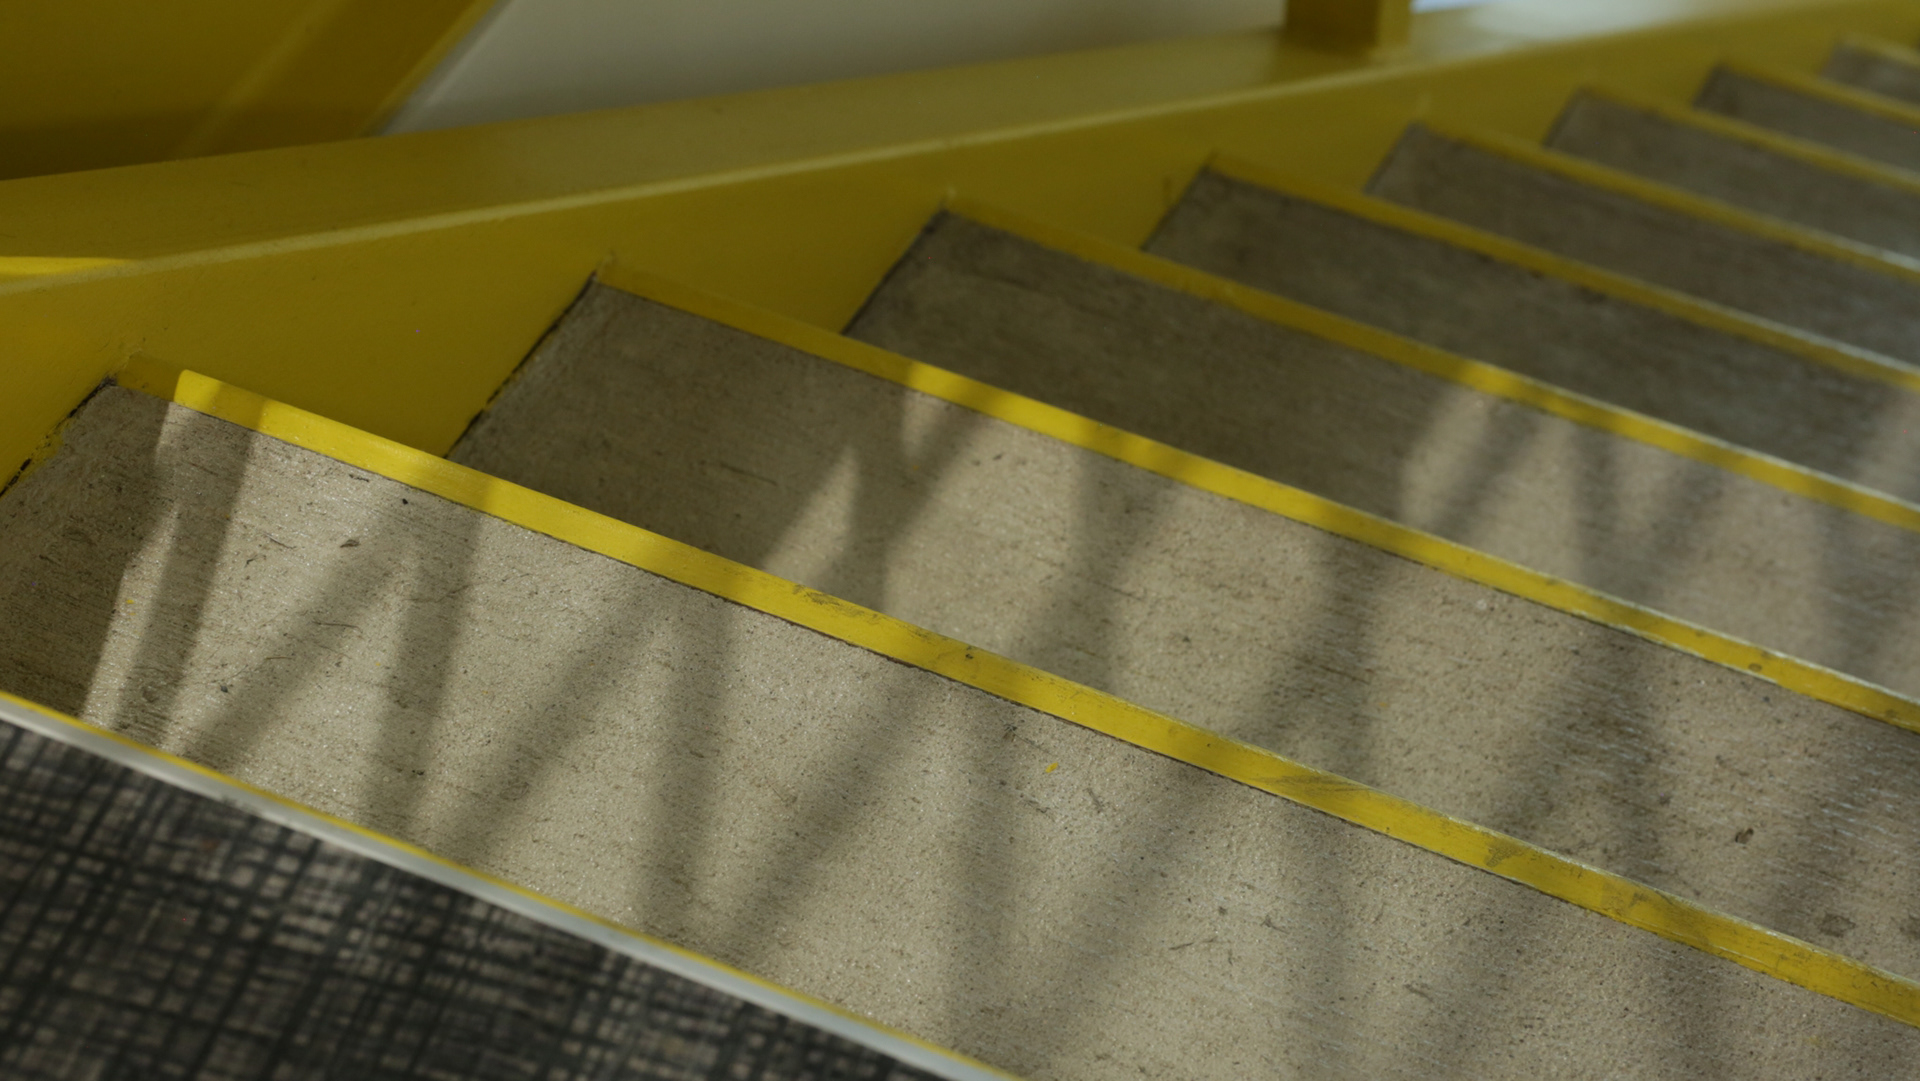
(Clean Plate of Stairs)
Stage 1 [Reference Photo]
The reference photo was taken with Canon 5D. The goal for the reference photo was to capture an image with visible shadows from a key light.
I was able to find a stair with a pattern fence creating shadows on to the stairs.
I wanted to choose the stairs as it could create help with animation when the 3D object would roll and it had great patterns of shadows from the fence. Also , the bright color engaged me to choose this spot.
1 - 1 Take Clean Plate
For the Background
1 - 2 Shadow Plate
To recreate the reference photo's shadow color later during compositing process.
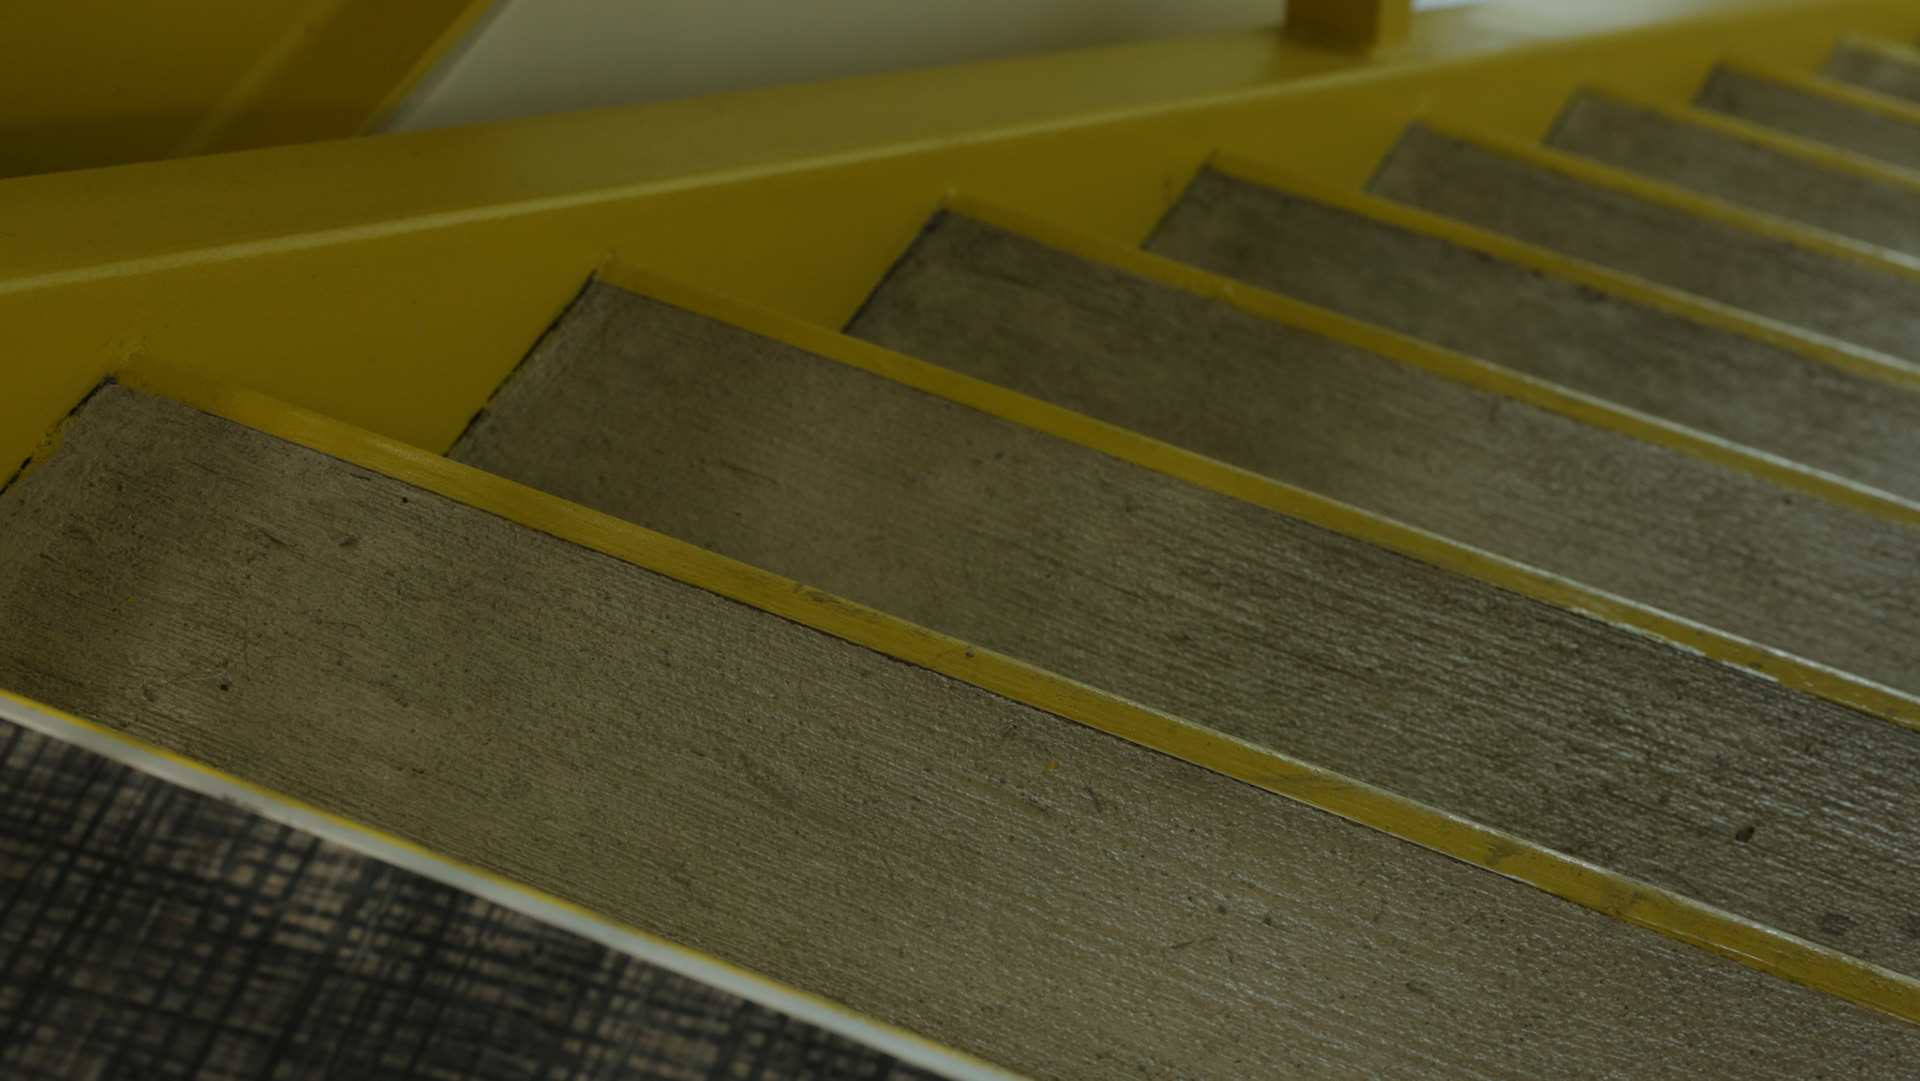
(Shadow Plate for Shadows)

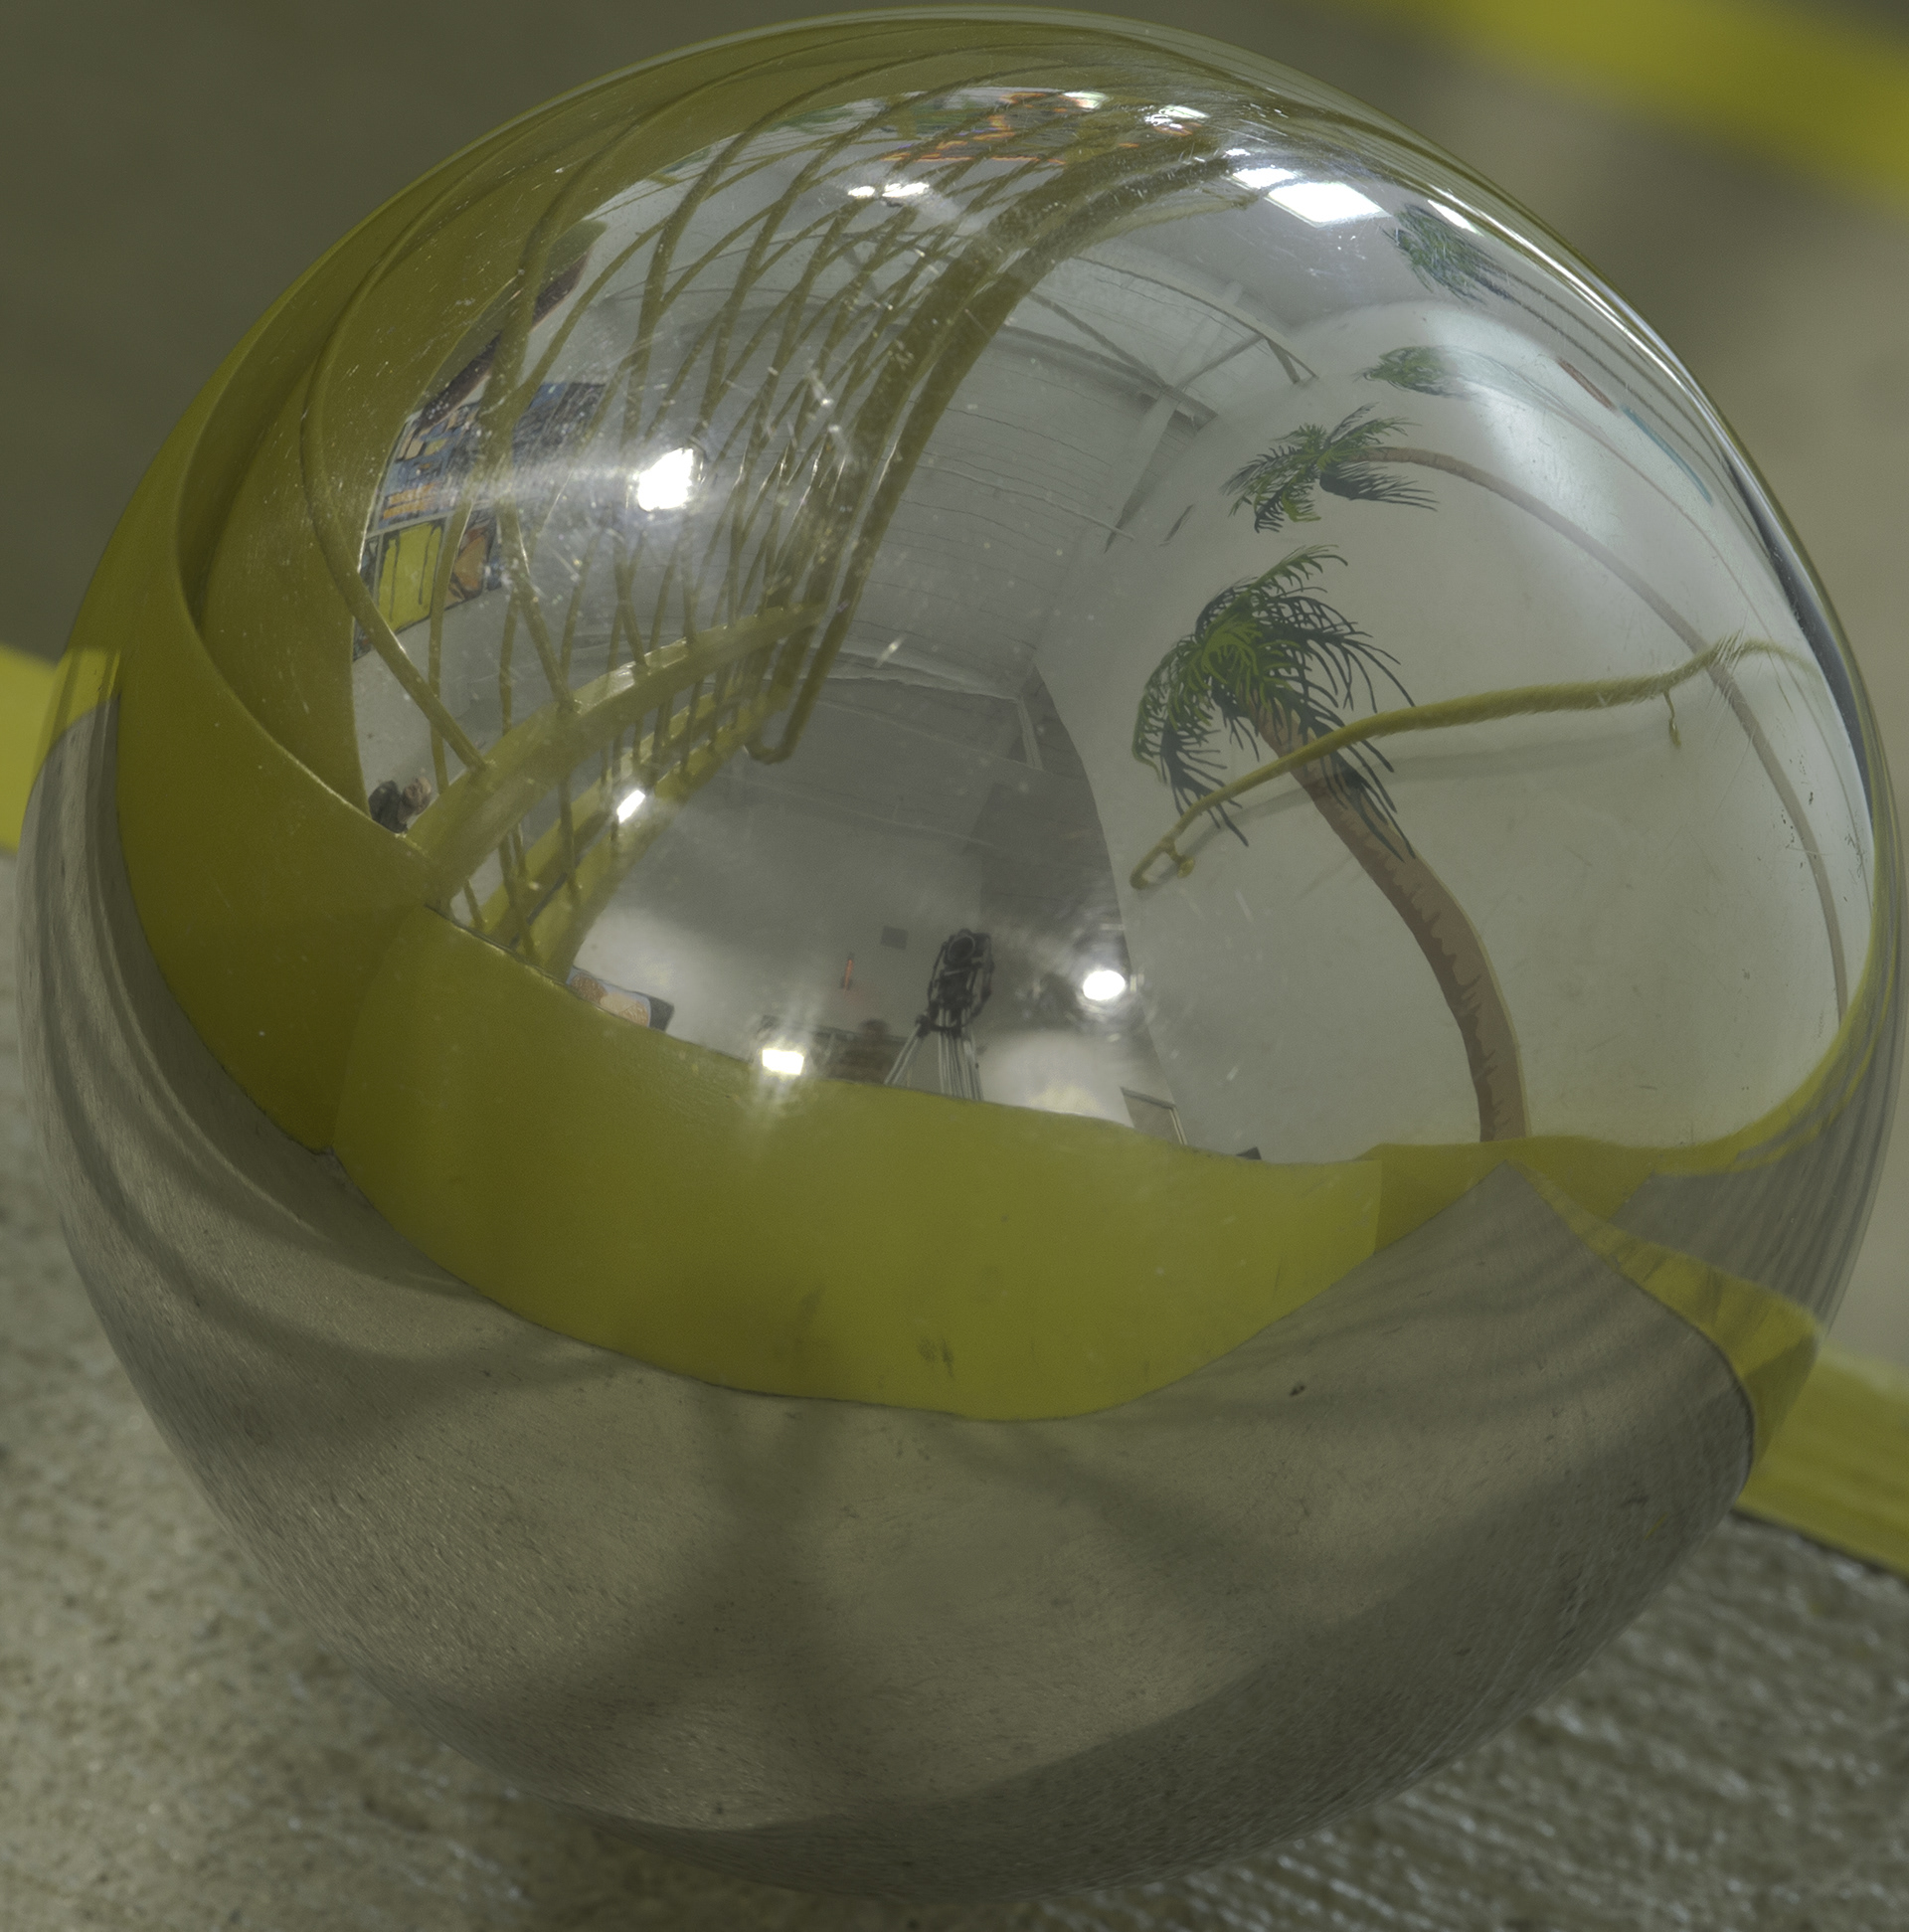
(Grey Ball for Reference)
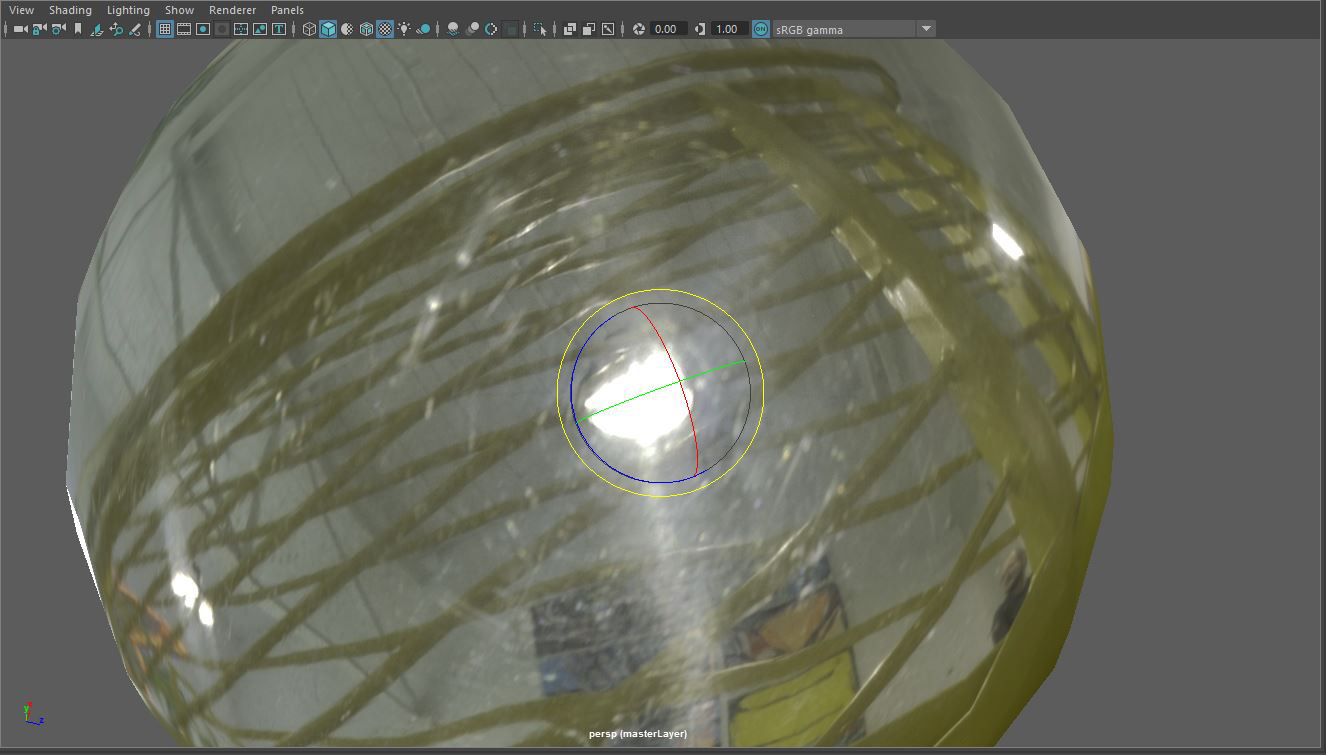
1 - 3 Grey Ball Plate
Reference to see intensity, direction and color of light and shadow to match in 3D.
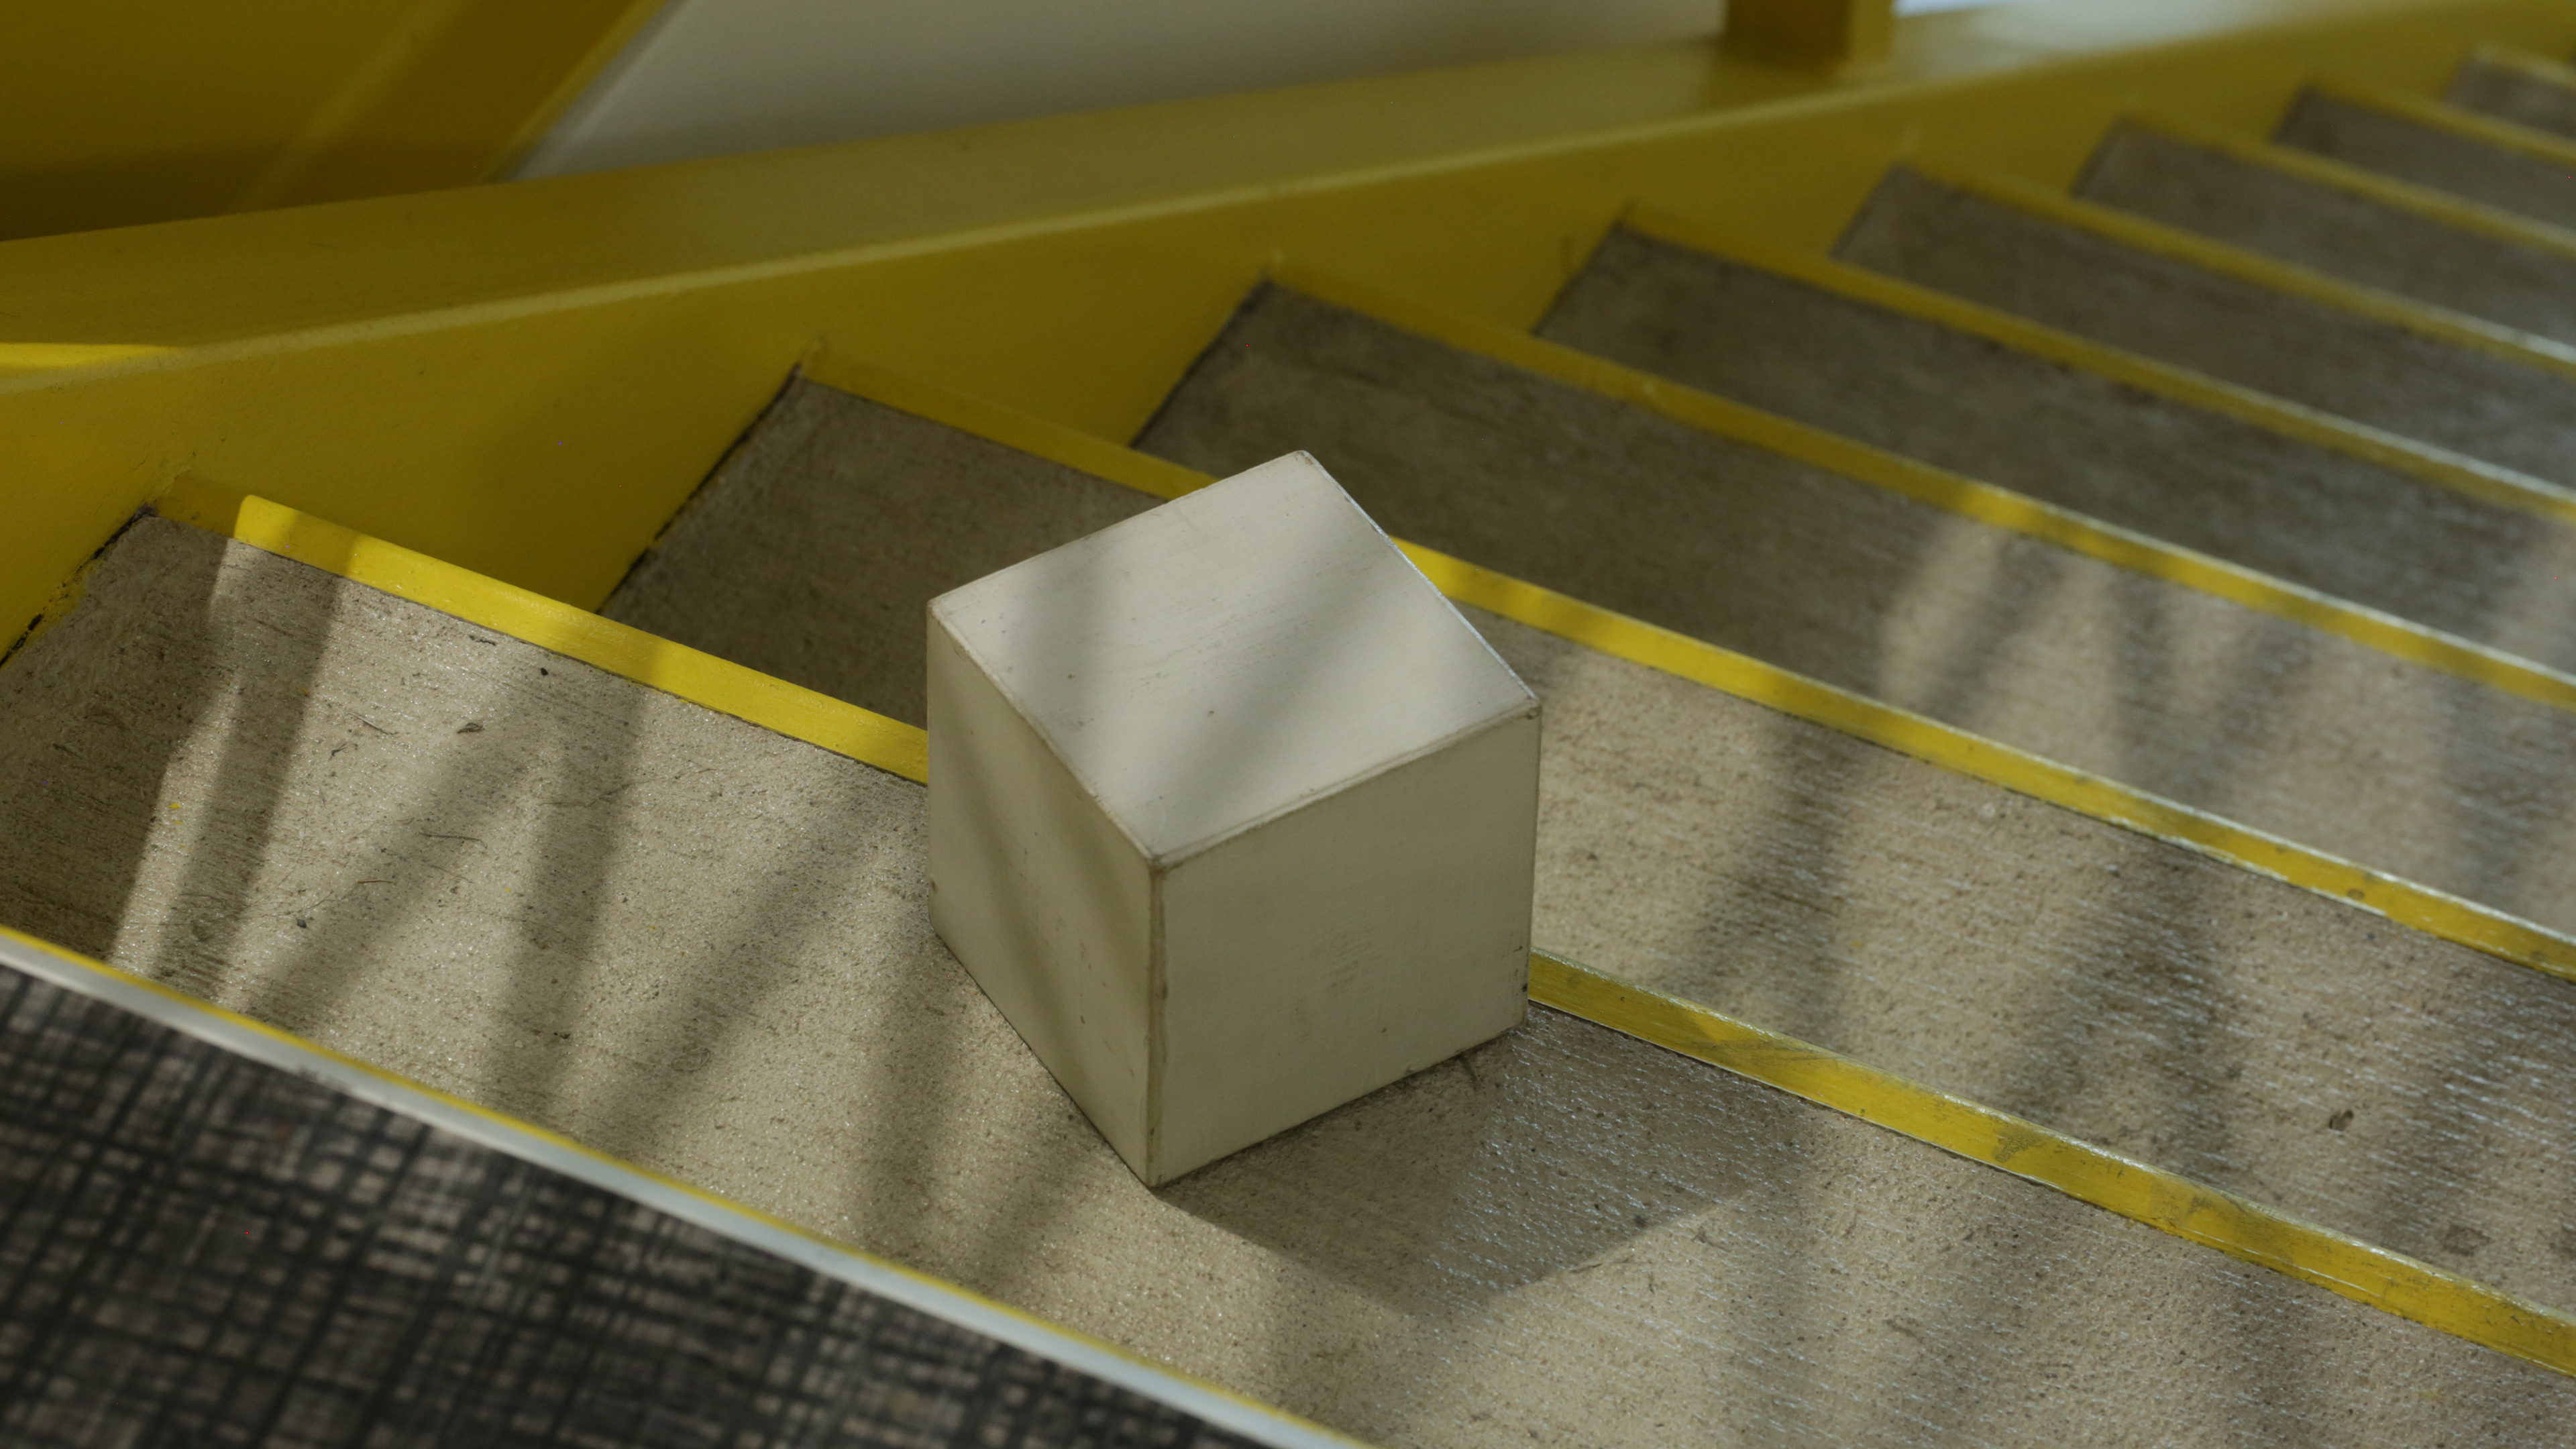
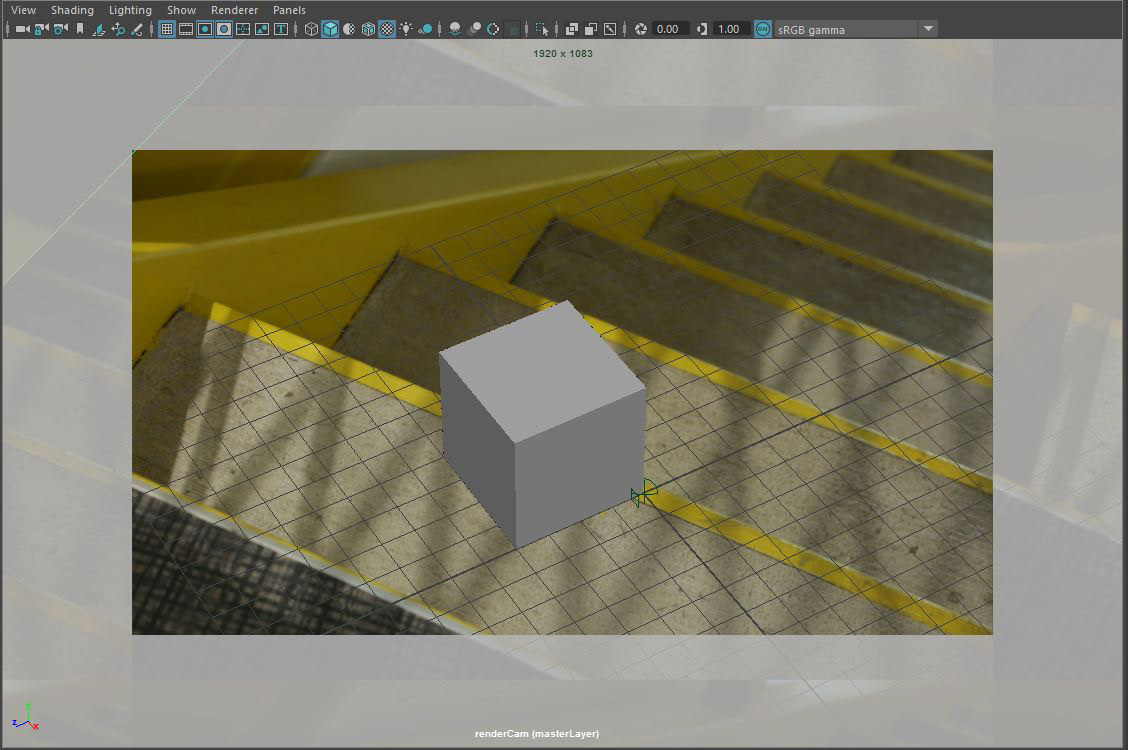
(Box for Reference)
1 - 4 Box Plate
Reference to match camera in 3D world.
1 - 4 HDRI
HDRI was created with taking multiple exposures though the camera in the same position and was stitched together in Photoshop. Then it was exported as an EXR image format with no compression and 32bit so it could be used in Maya.
Stage 2 [Create 3D World]
2 - 1 Create Camera
Created a new camera in Maya as my "RenderCam" and project an image of the Box reference image.
Then created a cube with the same size as the box from the reference. When matched I had the "RenderCam" locked so I would not have to deal with issues moving the camera accidentally.
2 - 2 Create HDRI
Created a large sphere with Maya's Surface Shader. Then used projection to project the HDRI as a ball around for reflections, direct and indirect lights, and colors.
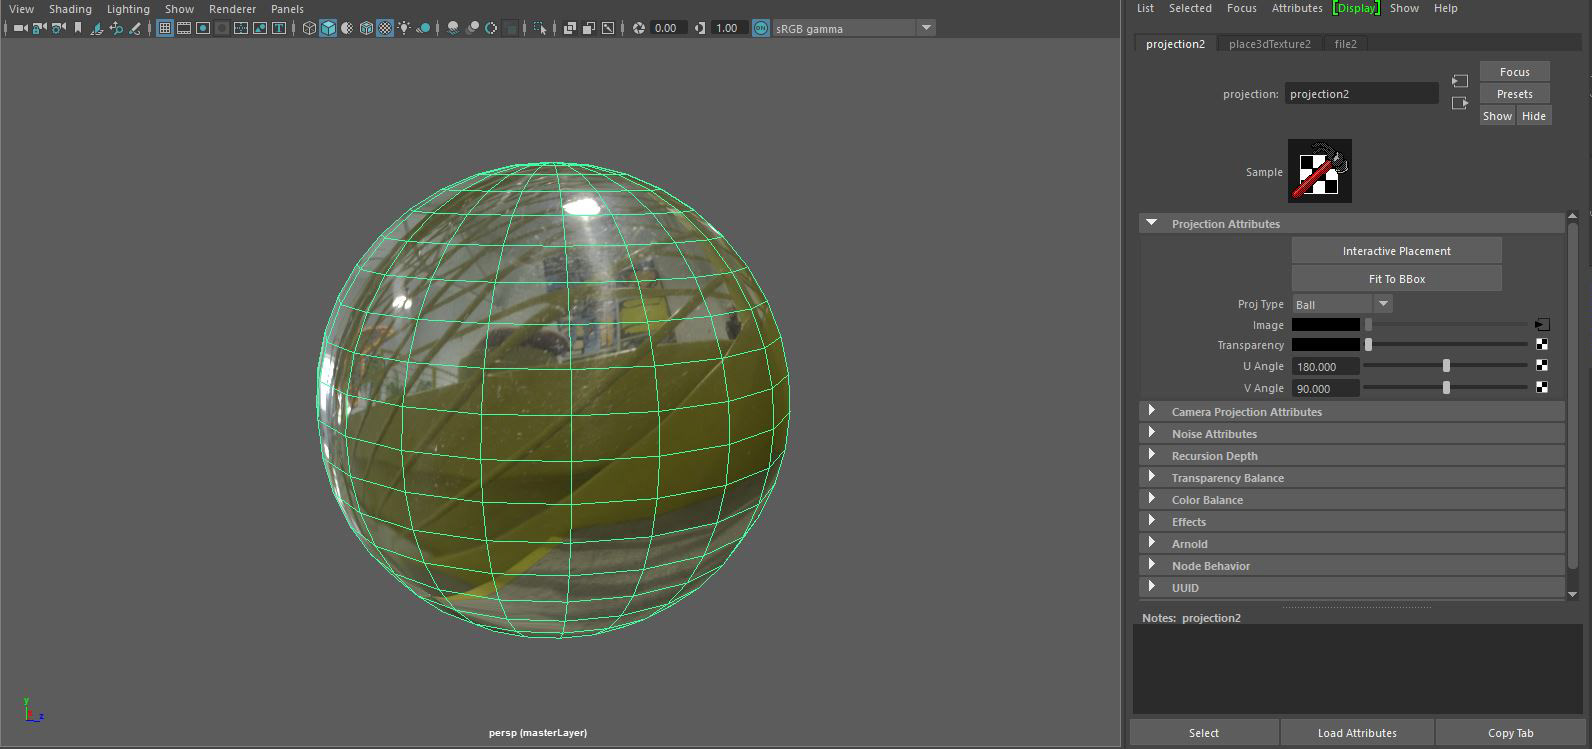
Rotate the place3Dtexture that was created through the projection to make the location of the chrome ball looking through the "RenderCam".
2 - 3 Add Keylight
R A point light was created and matched with the keylight position of the HDRI as the camera and the HDRI was matched the keylight position should match.
Issue: I had an issue of the keylight position not matching with my rotation of the HDRI. I had to move the keylight position matching the shadow of the GreyBall.

The intensity, amount, softness, color and position of the light and the shadow was done by compositing the diffuse and shadow layer of the grey ball renders on to the reference clean plate to compare it with the reference grey ball.
(3D render of the grey ball)
(Reference image of greyball)
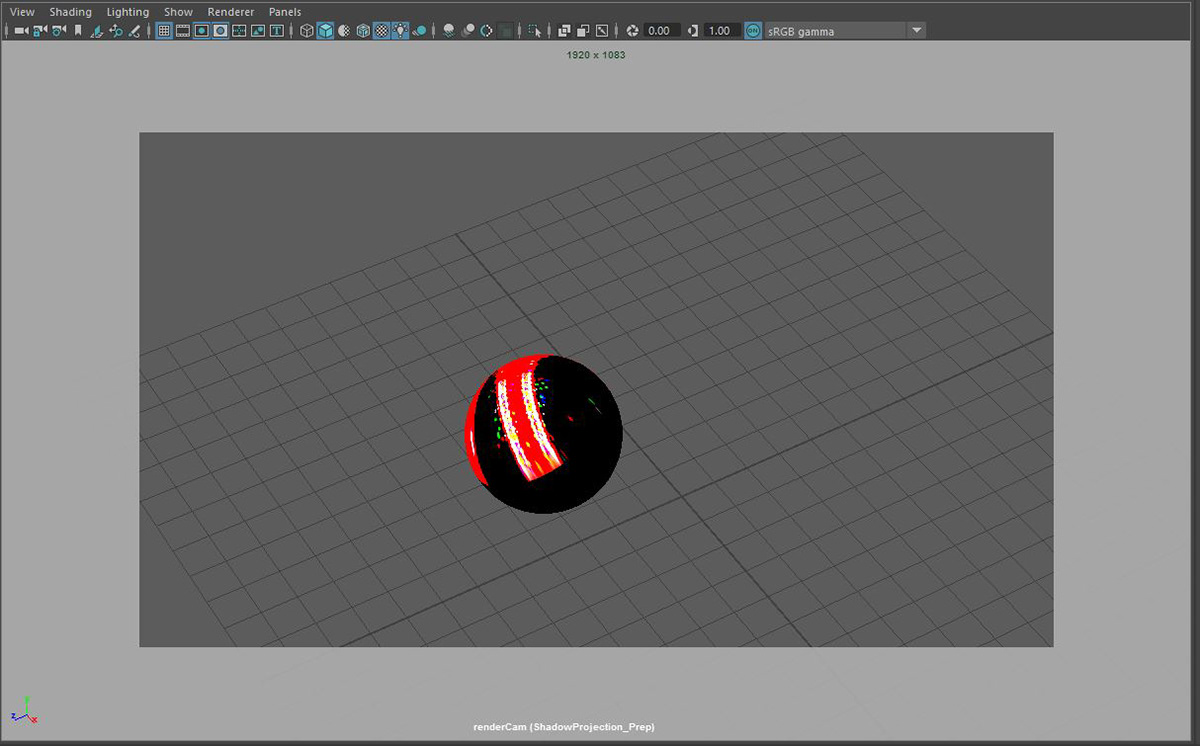
(Projection Shadow being Projected onto an object with Maya Standard Surface Shader)
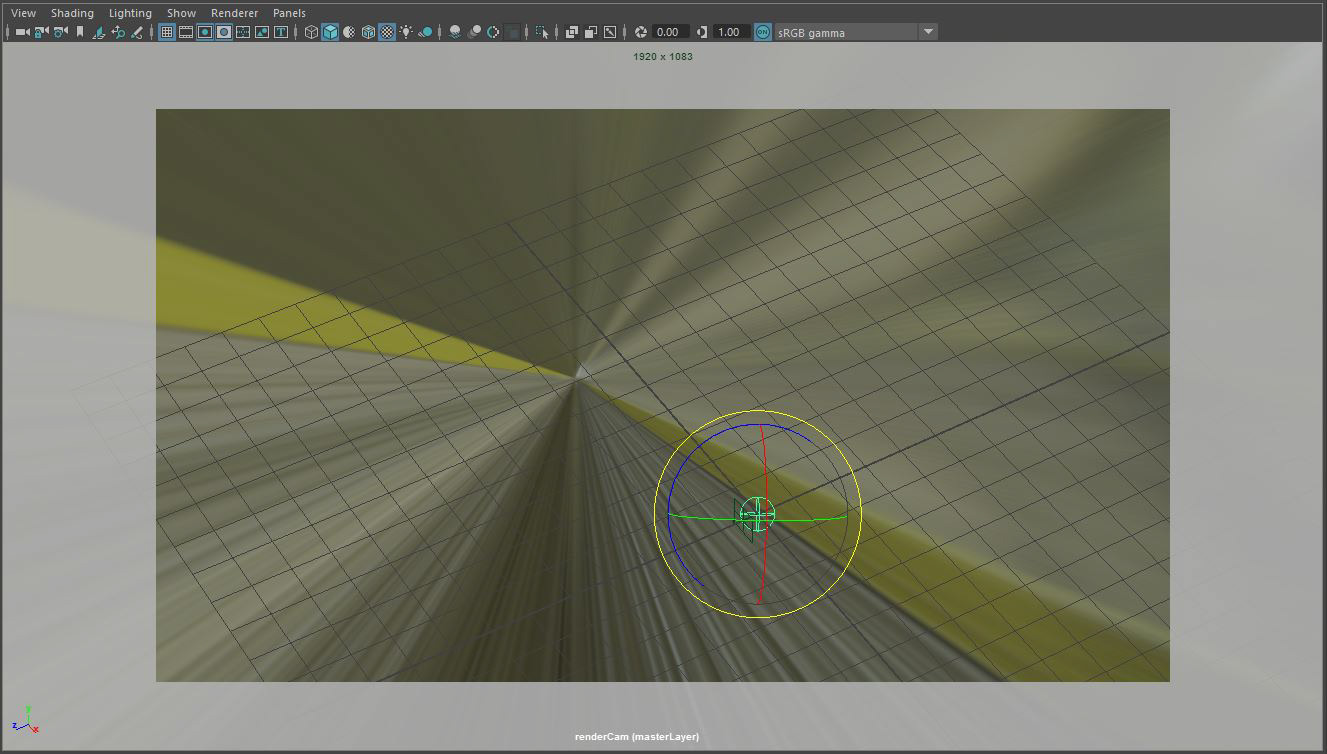
From the keylight position, a new camera was created to project the fence shadows that would be on the object when composited into as the object would move though the shadows.
The projection was created thought the projection camera rendering an image of the plane the "RenderCam" was projecting. The it was used to create area of shadows with 2D program. It was projected onto the object as a color reference for later use in the compositing process.
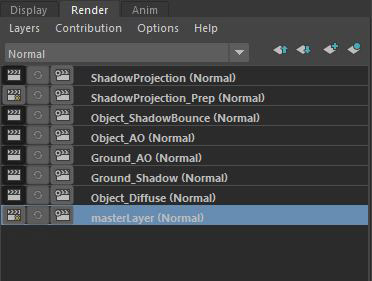
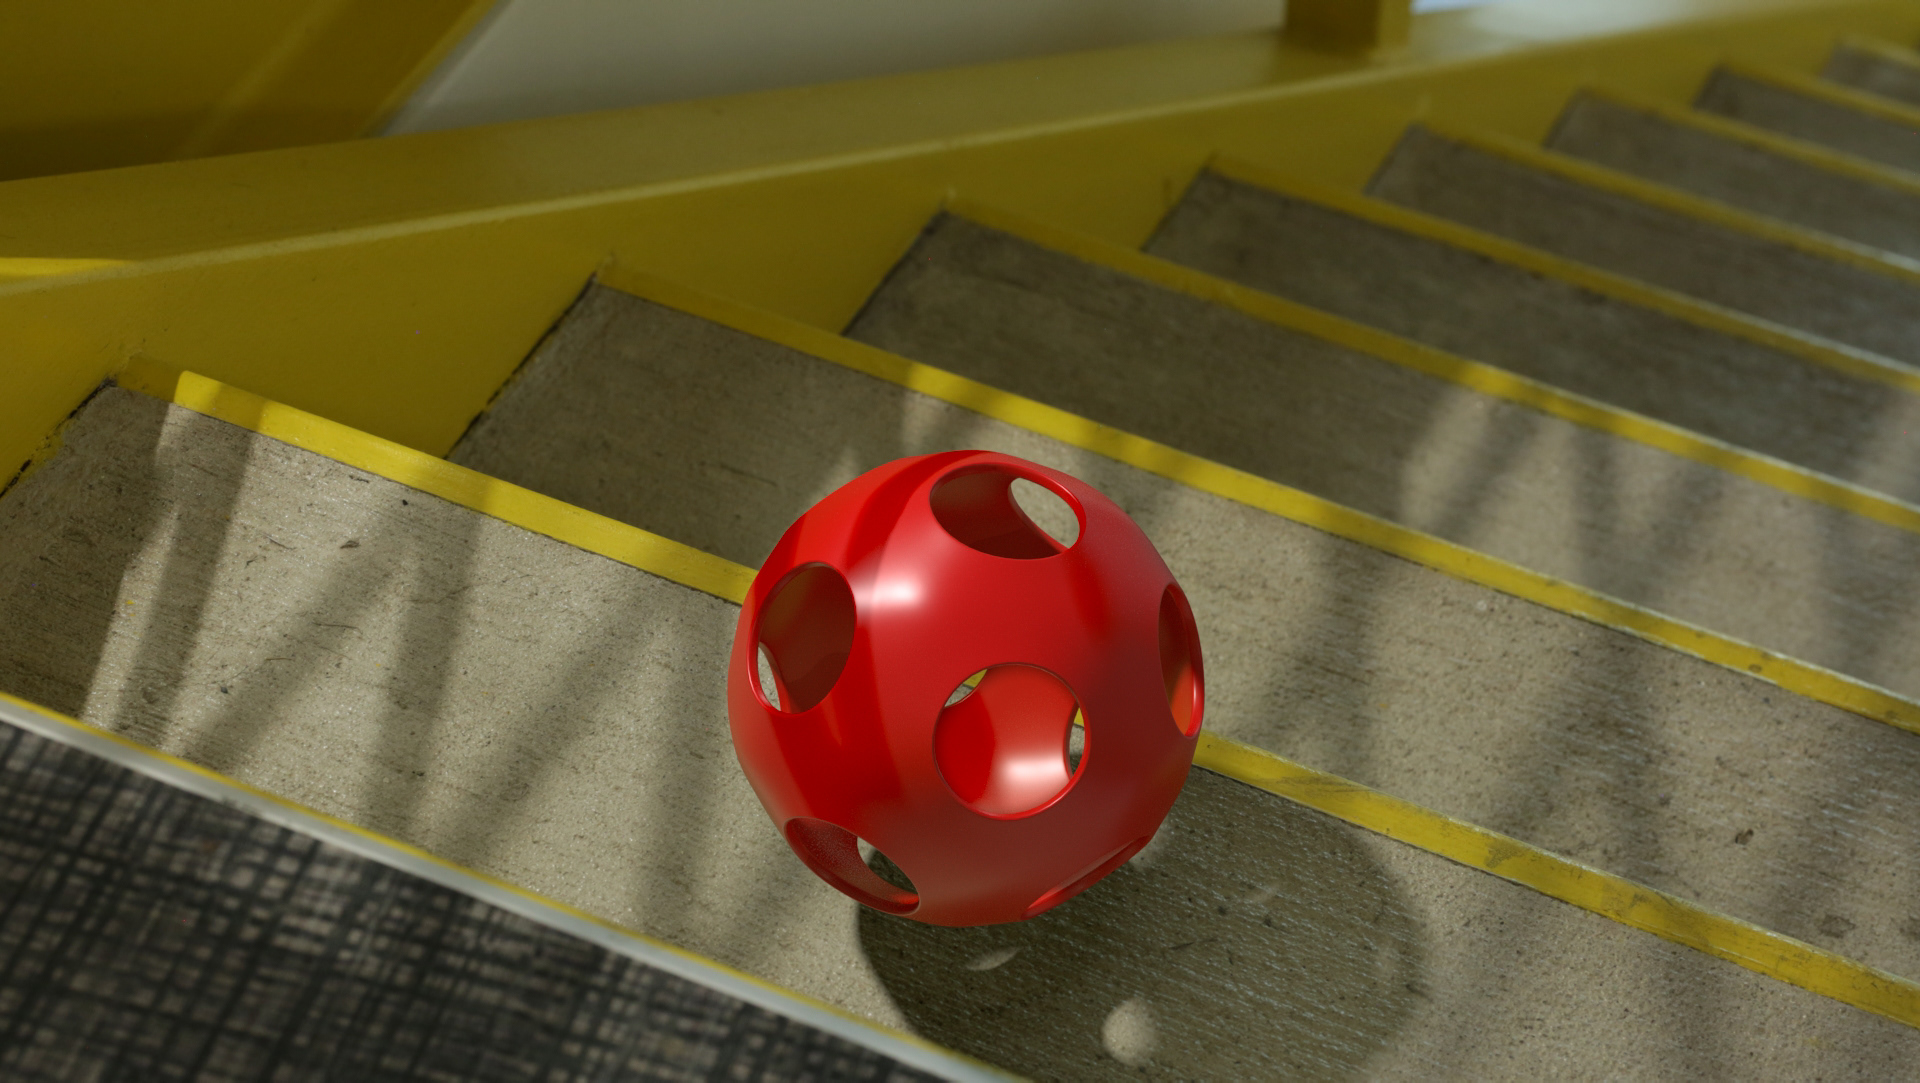
2 - 4 Replace, Layers and Render
Replace the ball with a wiffle ball (the hero object of the project) and the plane with the stair modeled looking through the projection camera. It was given individual materials in different layers to create different render passes to composite.
Each layer contained direct and indirect AOVs. Because the projection shadow would create shadows from the indirect which would cause double shadow in the process. Which later in the compositing process only direct light would be used.
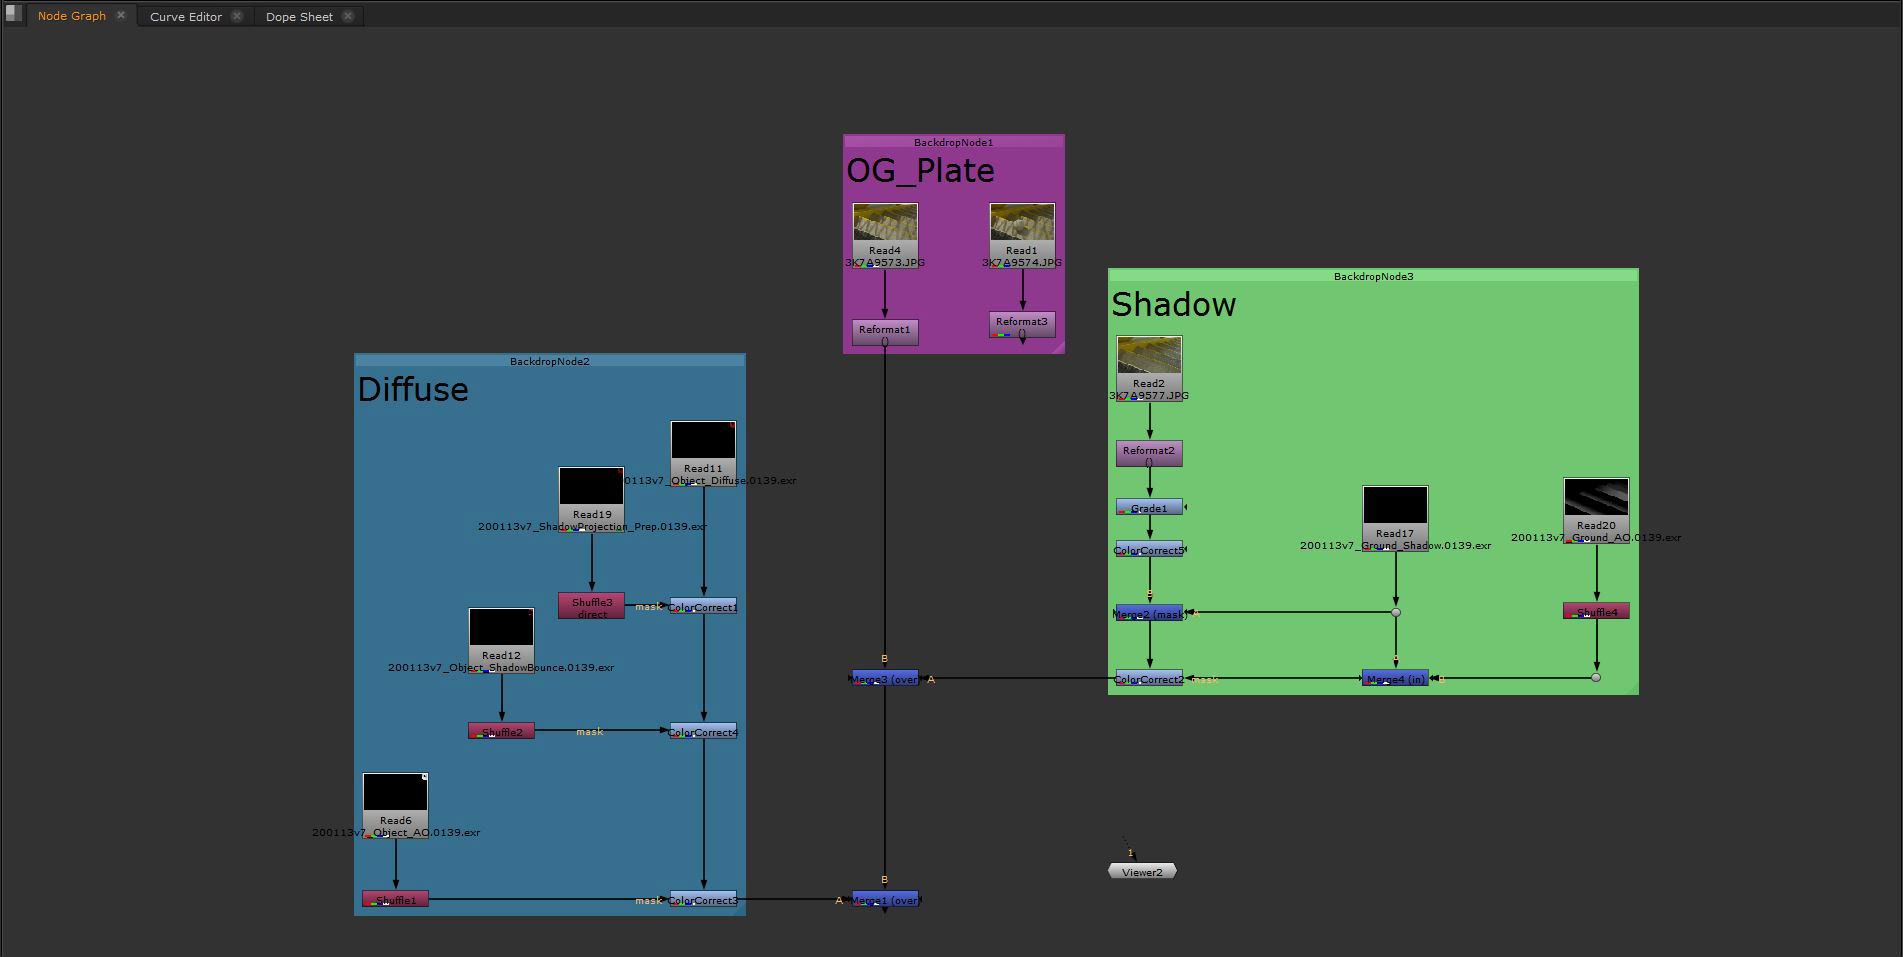
Stage 3 [Composite]
Every renders from the sequence was put together in nuke to match the reference image.
The original reference photos were reformated to fit the resolution of the rendered images. The rendered images were smaller in size but in the same ratio.
Shadow
The shadow was used to mask out from the reference shadow. However, when it was merged the shadow had more blue than expected. I think it had happened as the weather of the outside also changed when taking the shadow plate. So I had to match the shadows of the clean plate.
Then the AO of the ground was used as a mask for color correction. The mask itself was also masked from the Shadow layer to keep it only inside the shadow.
Diffuse
I added the projection shadow, shadow bounce and AO of the object with color correction and it was merged on to the reference background with the shadow layers merged.
Update Render 2020/ 01 / 24
(First Full Render)
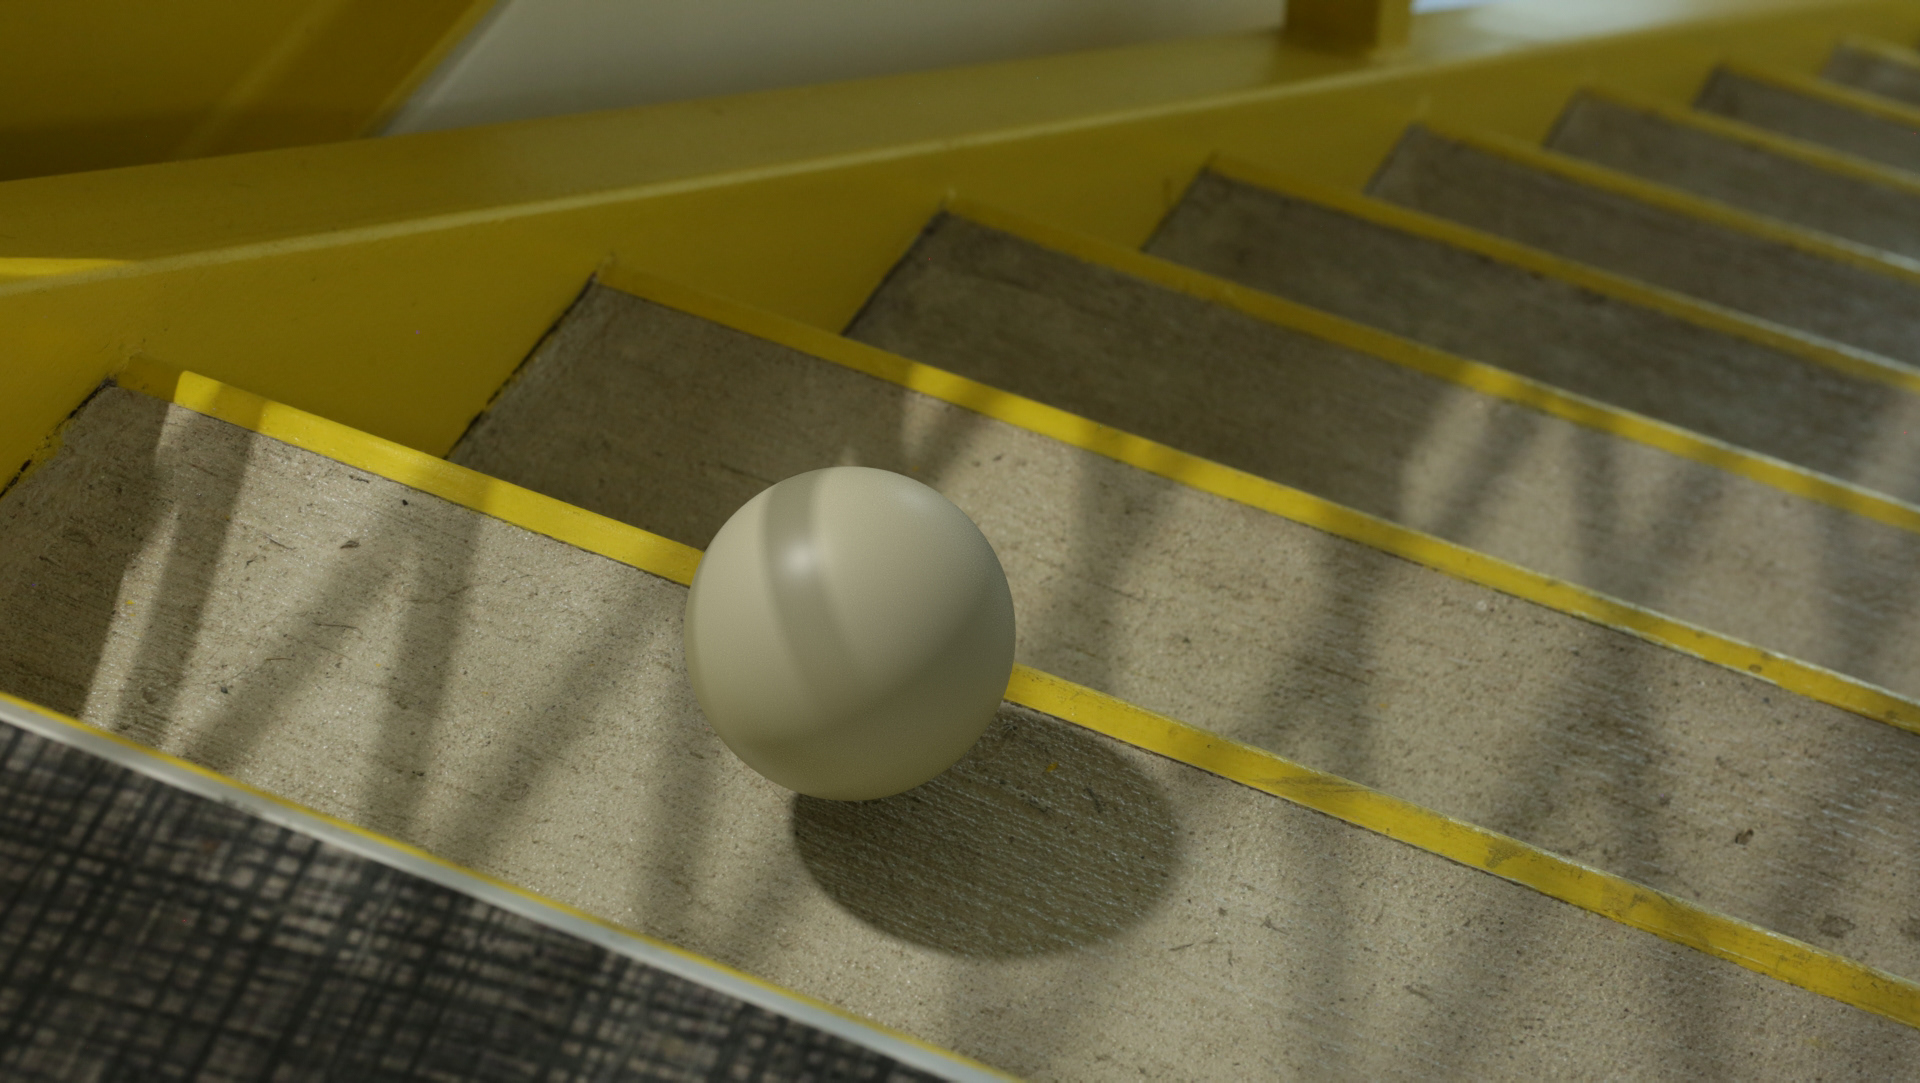
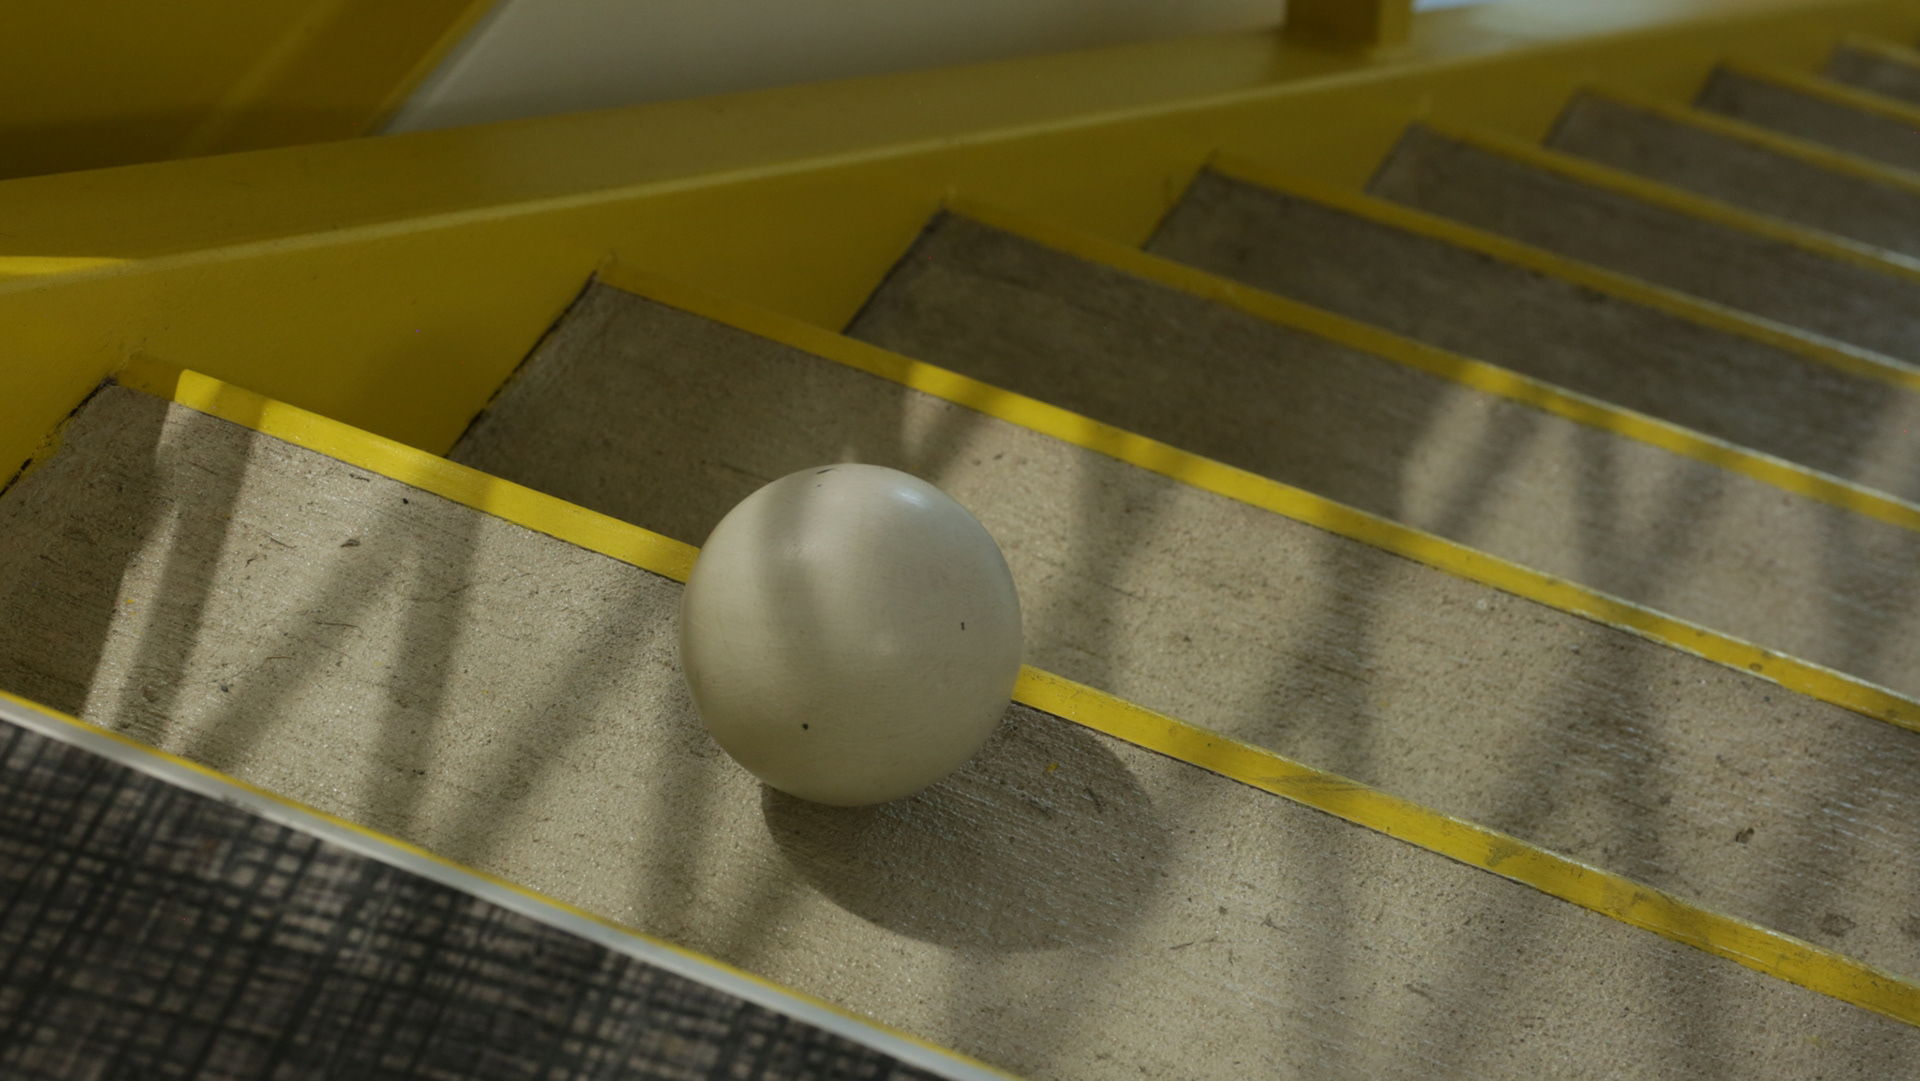
As seen in the render sequence of the first full frame rendering I have made a mistake of modeling the stairs wrong which caused a huge artifact of the shadow being created in the wrong areas and it started to make bad cuts.
It was not seen during my test renders as I only rendered it in couple of frames in between which did not show the areas that would cause this problem. As the camera was created to match the cube the stair had to be modeled to match separately.
To Fix this problem I would remodel the stairs and render the frames where the shadows starts to drop off to make sure it fits.