OSL Arnold
(MOOM Shading)
Maya, Arnold, Nuke
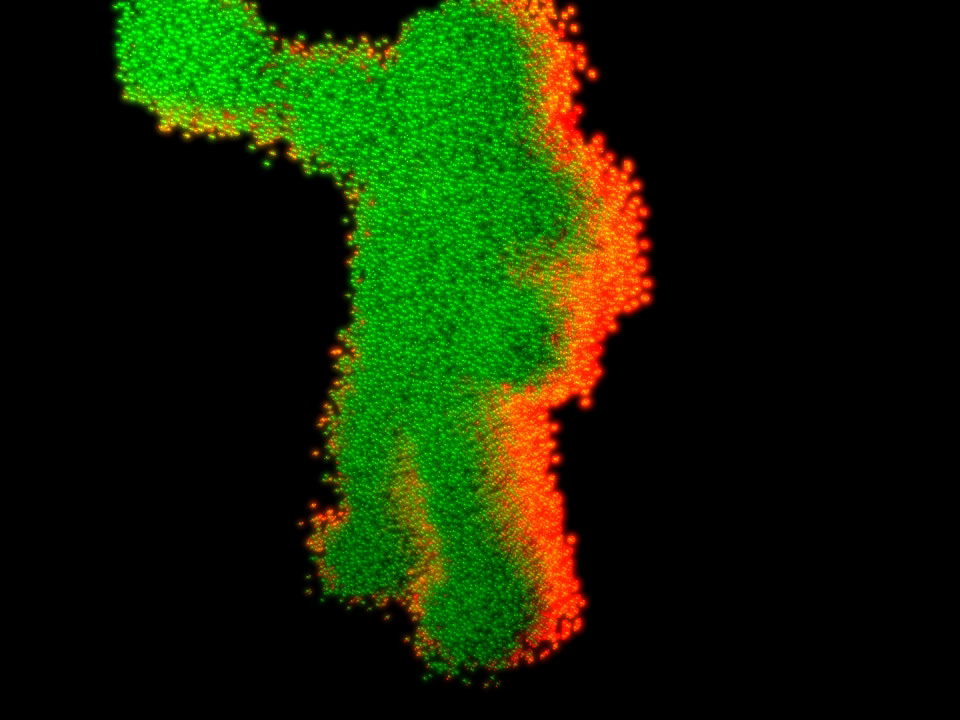
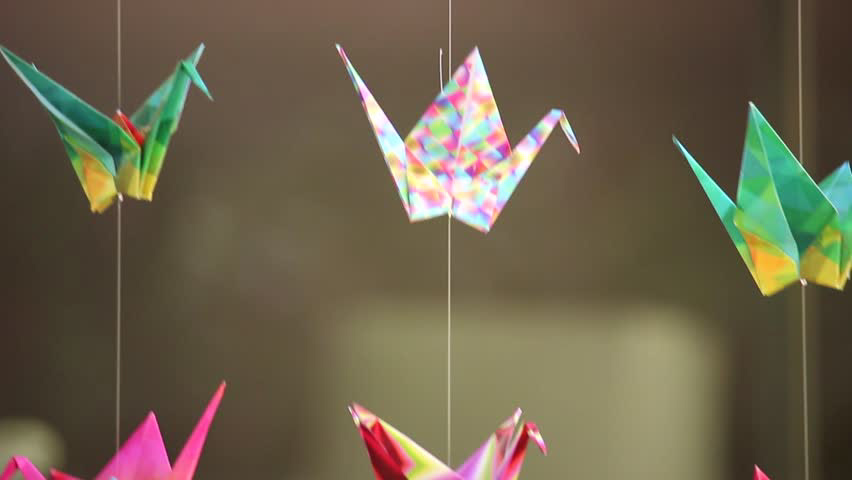
For this Assignment, I concentrated on using the MOON Shading by Professor Malcolm Kesson. The same shader is assigned to different objects using different texture maps.
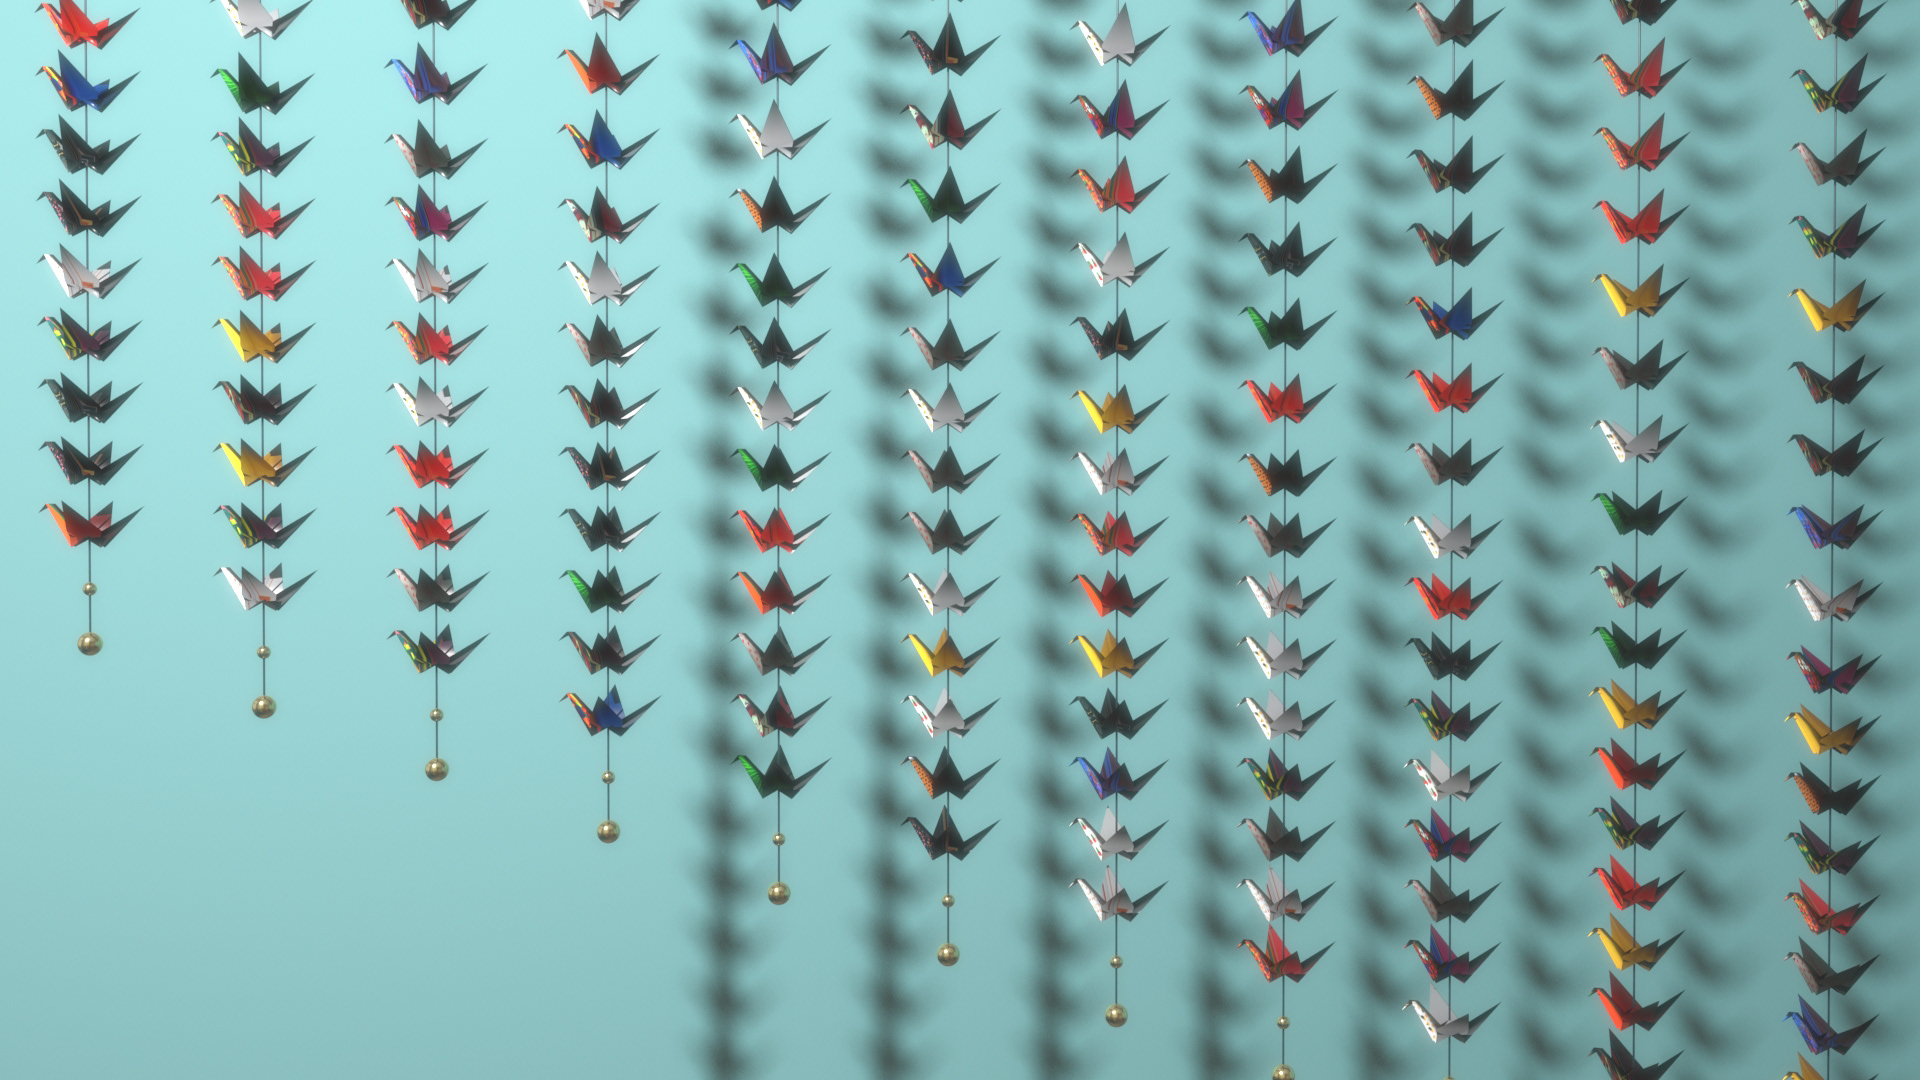
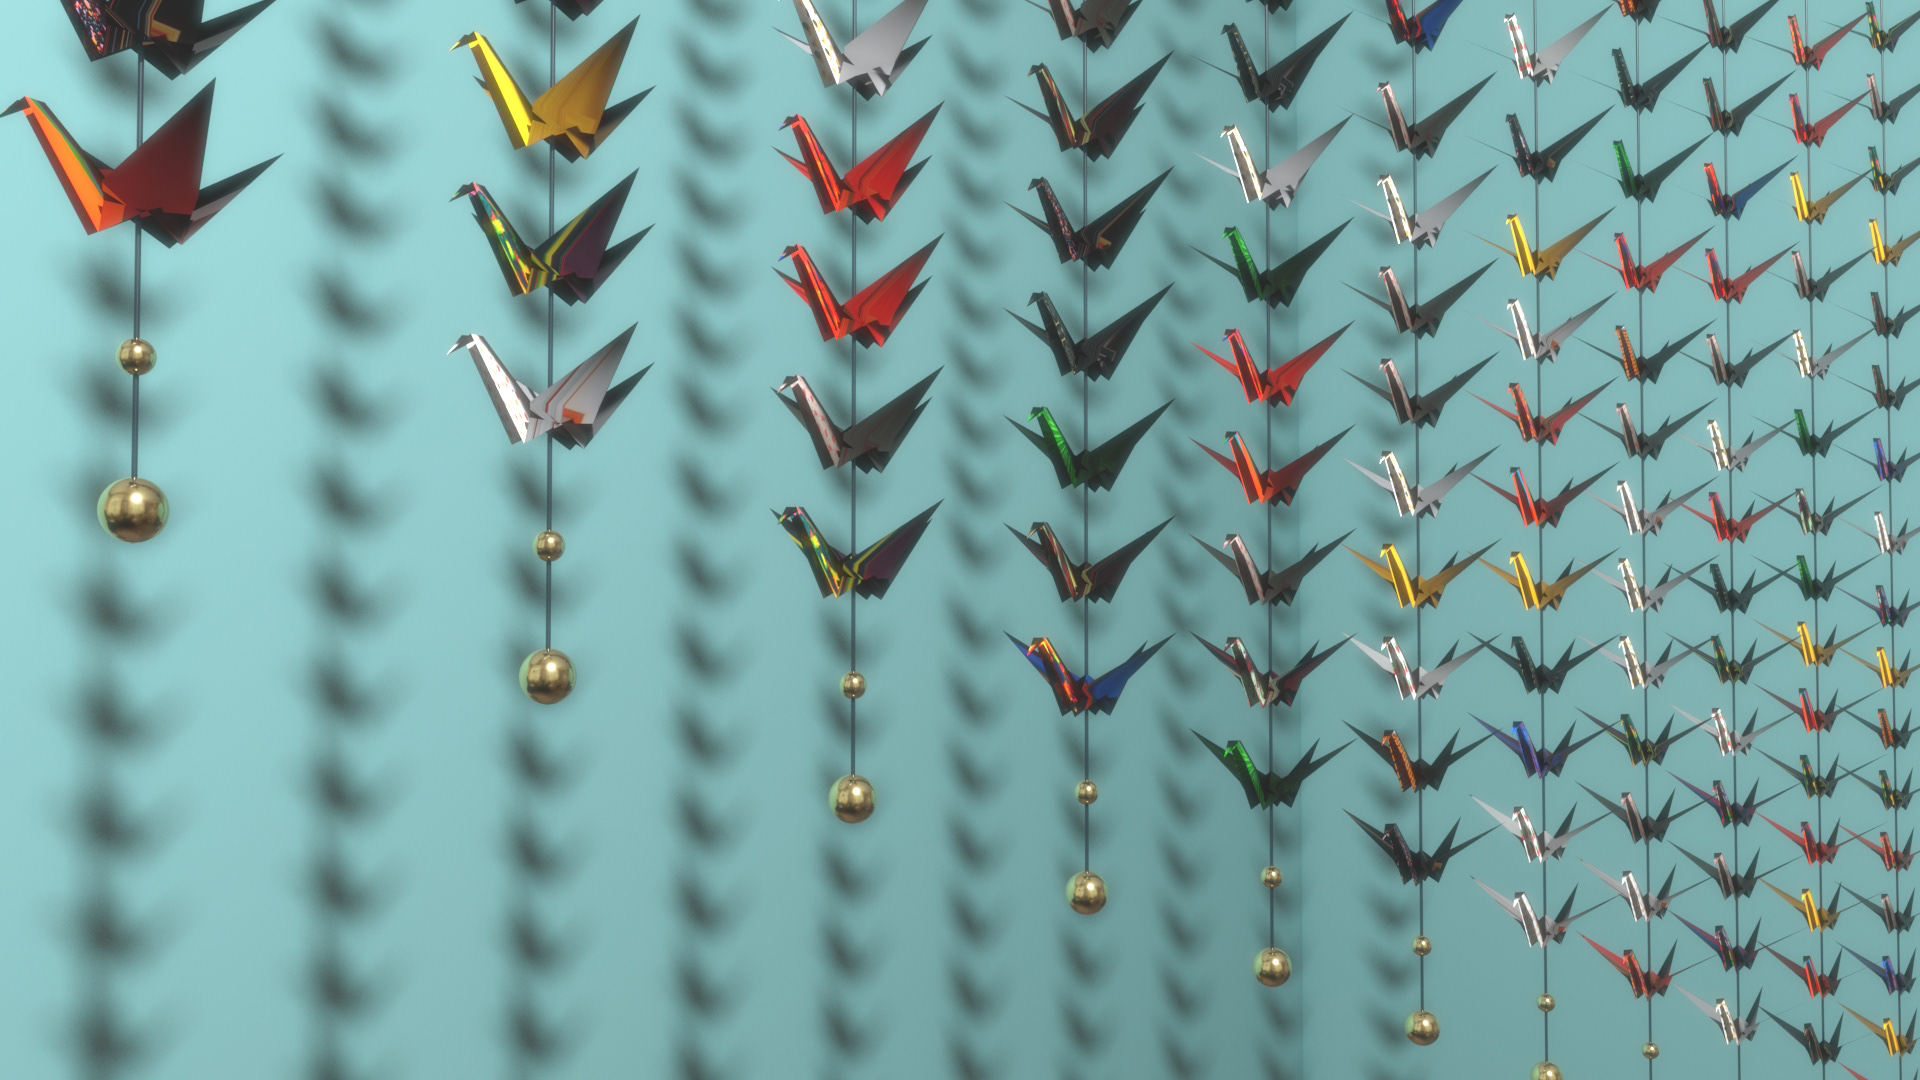
By using the add_arnold_attrs.py and wjMoomTexture.osl script, created multiple numbers of origami cranes with different texture maps.
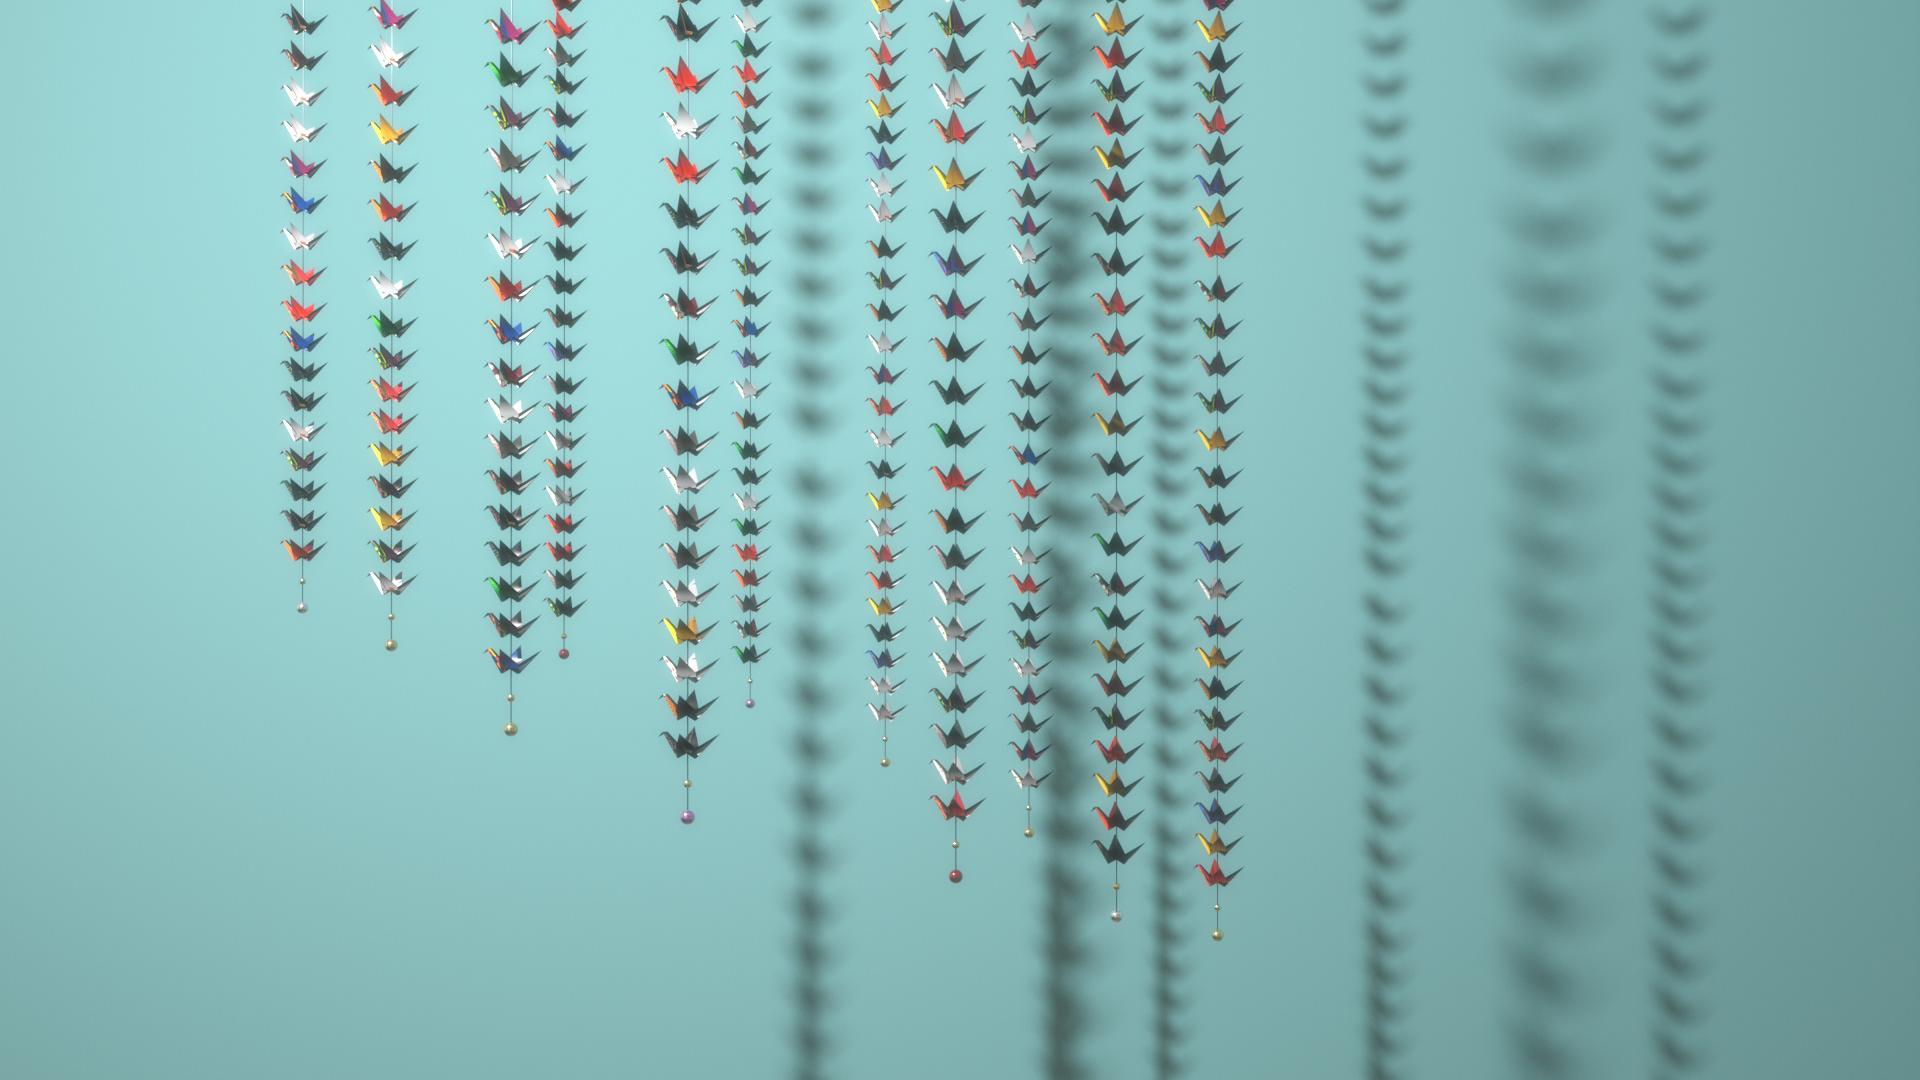
Final Render
(Origami Crane)
Reference
The inspiration came from the idea when I was younger, I would learn to make paper cranes and other paper objects using a magazine or a newspaper.
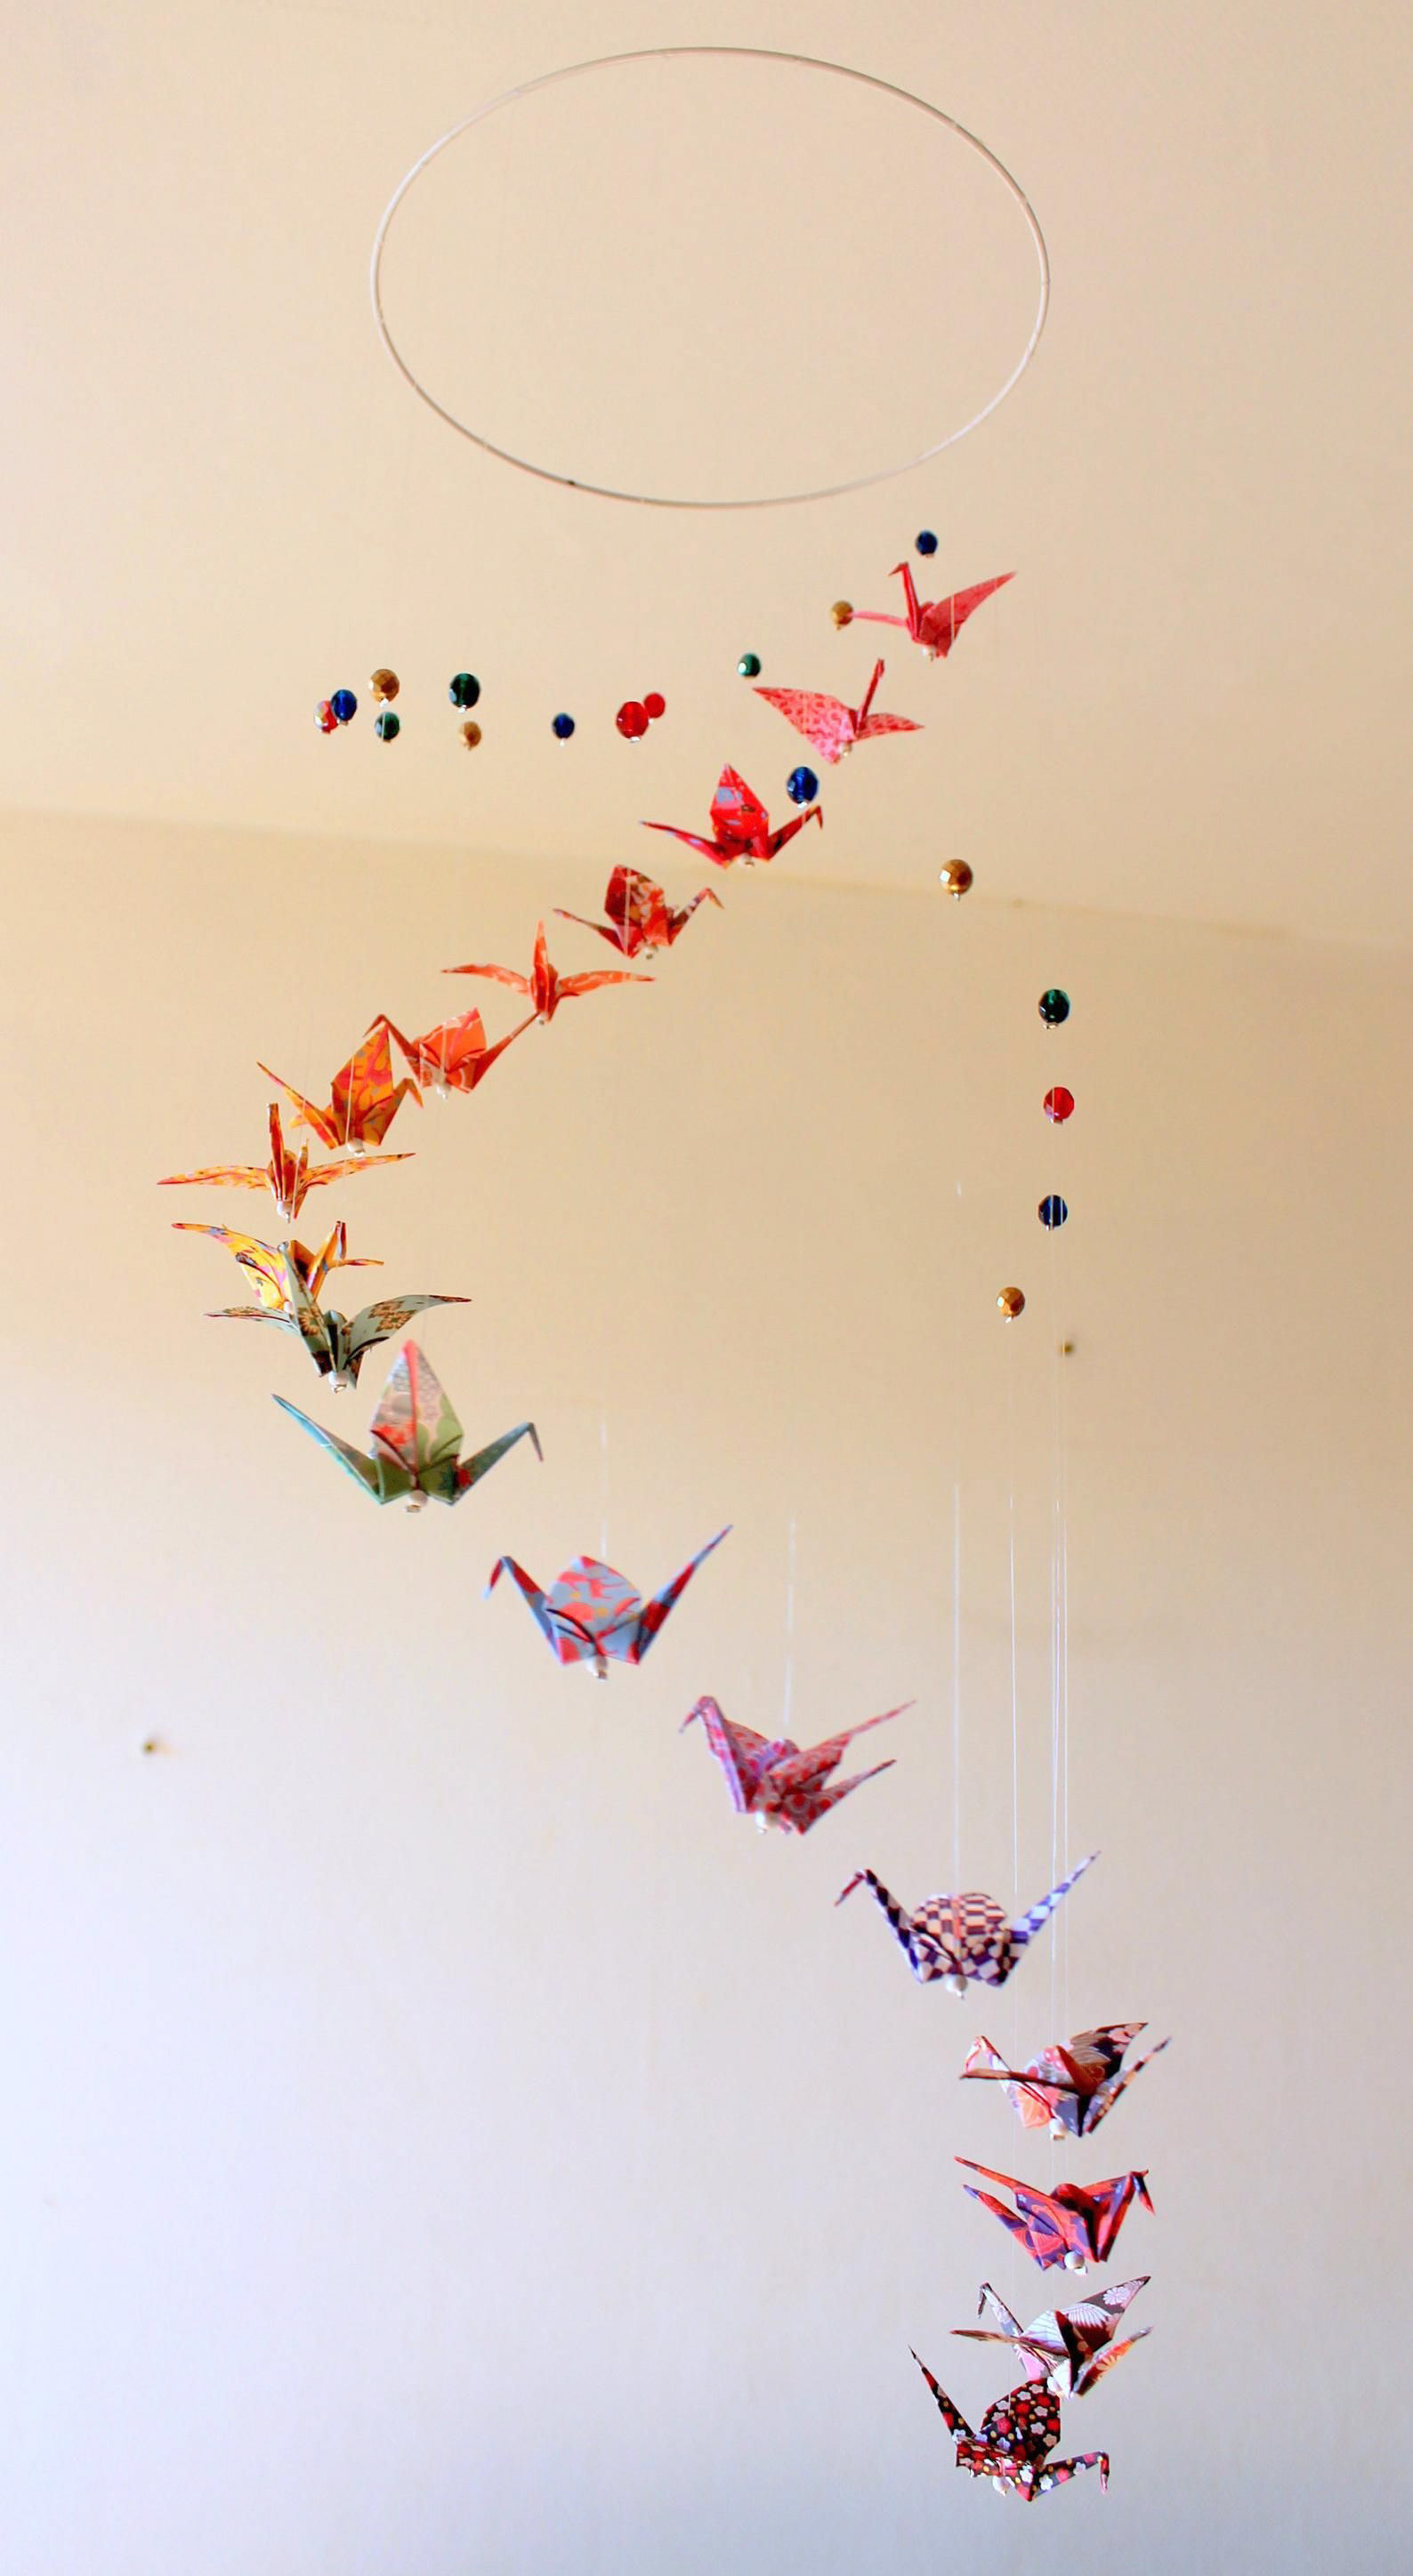
https://www.pinterest.co.kr/pin/247698048242346061/
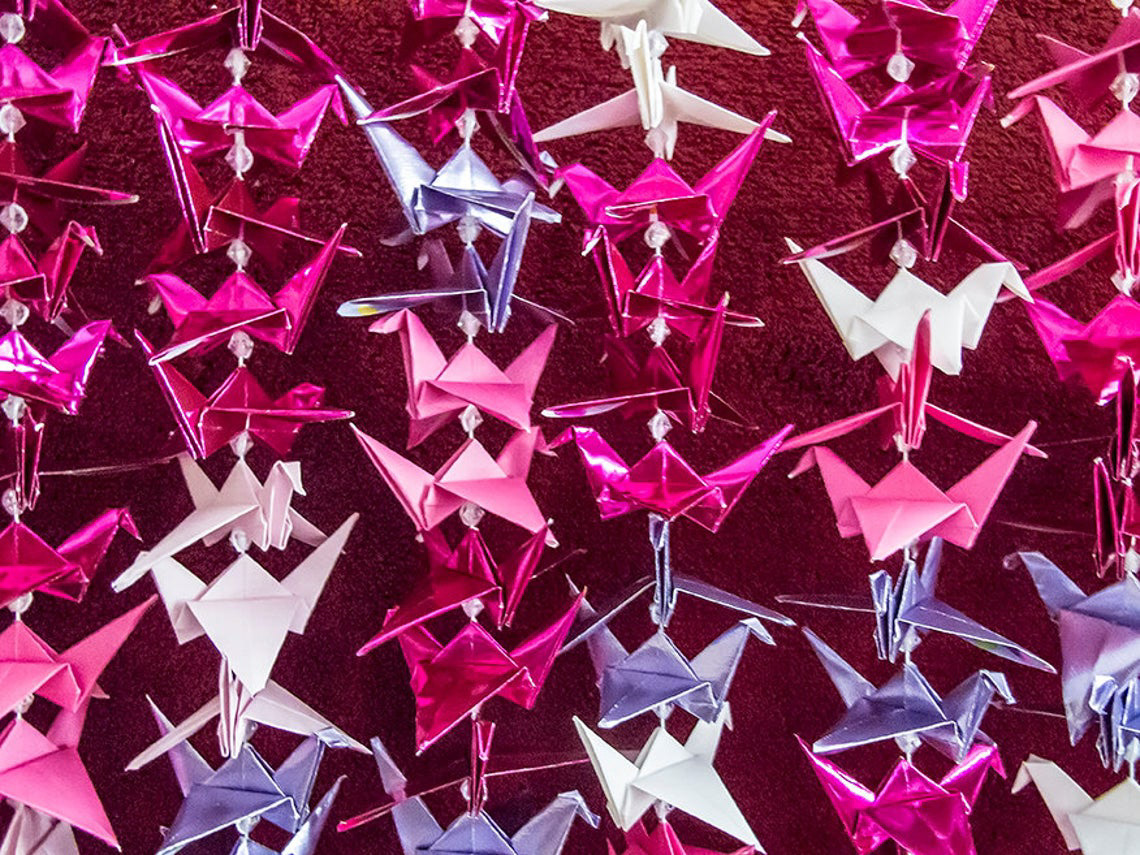
https://www.etsy.com/listing/461296350/origami-1000-cranes-senbazuru-pretty?gpla=1&gao=1&&utm_source=google&utm_medium=cpc&utm_campaign=shopping_us_bachelorette_party_Art_and_Collectibles&utm_custom1=83328697-2457-42b4-96ee-78fc42ef6f79&utm_content=go_1706784227_63430298581_331635215685_pla-314954651933_c__461296350&utm_custom2=1706784227&gclid=Cj0KCQjwn7j2BRDrARIsAHJkxmz2Oy4La3PVYTOPnuhqtnNwQ2ufORSSEqxIcszIg1PtXkfdfMehwy8aAurUEALw_wcB
https://www.shutterstock.com/video/clip-1007818078-japanese-origami-paper-cranes-on-strings-gently
BREAKDOWN
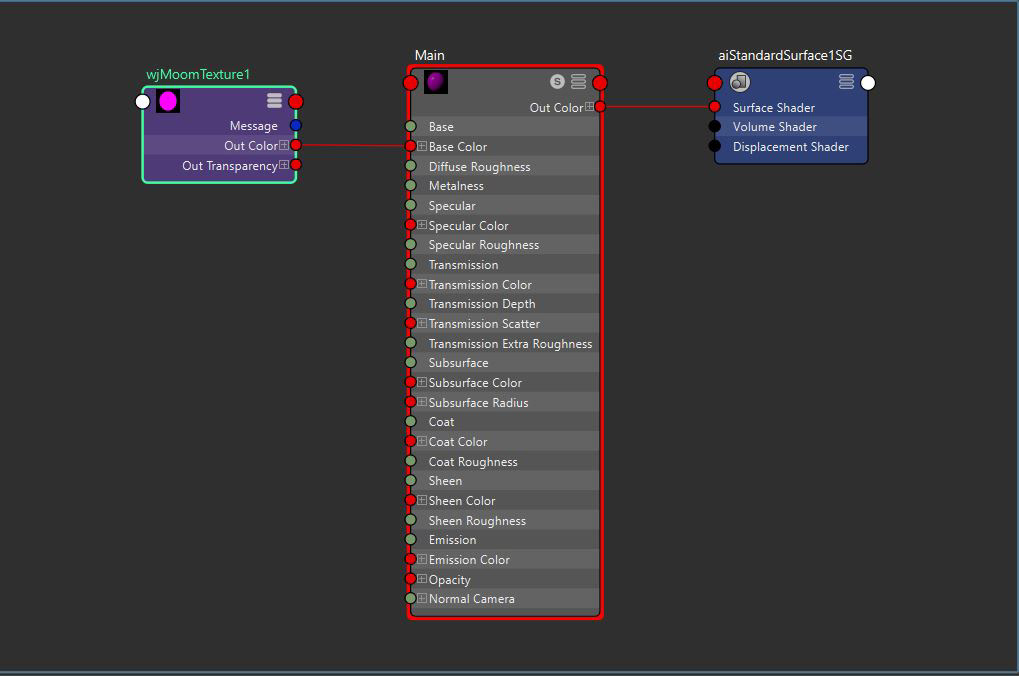
These codes were used to create the shader for the project.
Each of the files were saved to individual folders.
ADD_ARNOLD_ATTRS.PY
MAYA - > SCRIPTS -> ADD_ARNOLD_ATTRS.PY
WJMOOMTEXTURE.OSL
MAYA -> PROJECTS -> ARNOLD_OSL -> SRC -> WJMOOMTEXTURE.OSL
The add_arnold_attrs.py was just execute through the program called Cutter by Professor, Malcolm Kesson.
Also for wjMoomtexture.osl. The OSL is then brought into the scene through the hypershade and the node output of wjMoomtexture.osl is plugged into the base color of the AIStandardSurface.
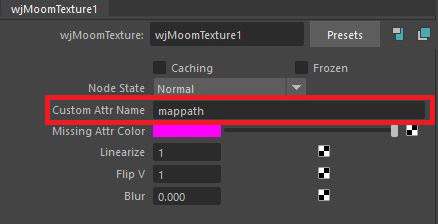
The Custom Attr Name has "mappath" which uses the mappath that would be created inside individual objects using a separate code.
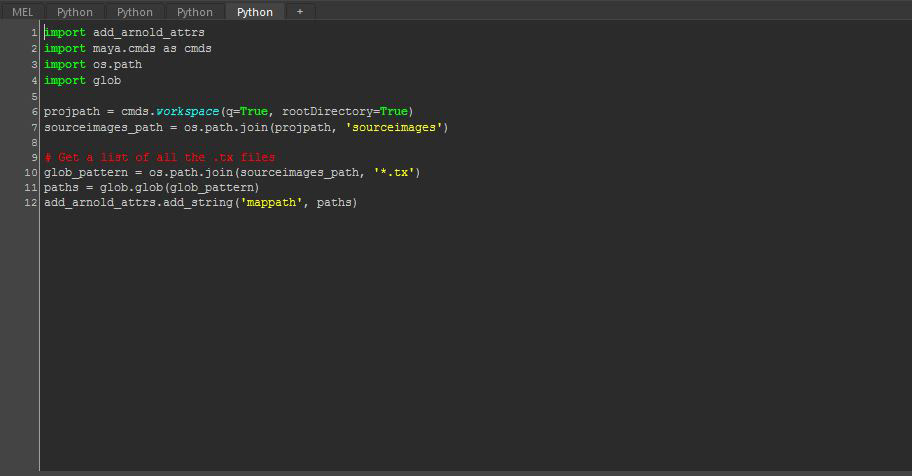
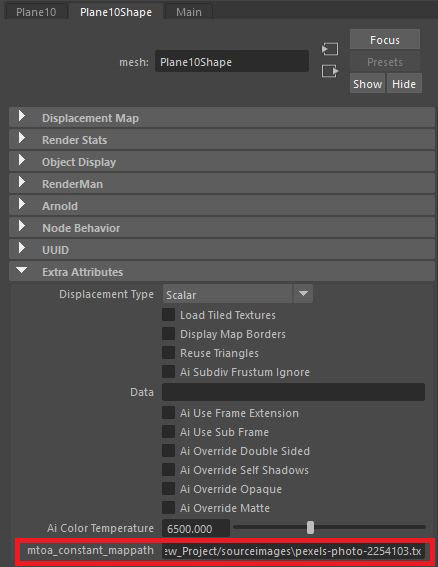
With all the objects selected and run the python code inside of Maya script editor. Which creates a extra attribute called "mtoa_constant_mappath" with each objects with individual file path. This is the attribute that the osl code would find the mappath information.
The trouble shoot I had was if I duplicated an object with the code already put in, all the duplicated the objects would have the same texture map. Also, when the objects are duplicated using the group method it would cause a problem as the objects would have the same name. Therefore, the objects needed to be duplicated as an object select not a group duplicate and used the code after the duplication.

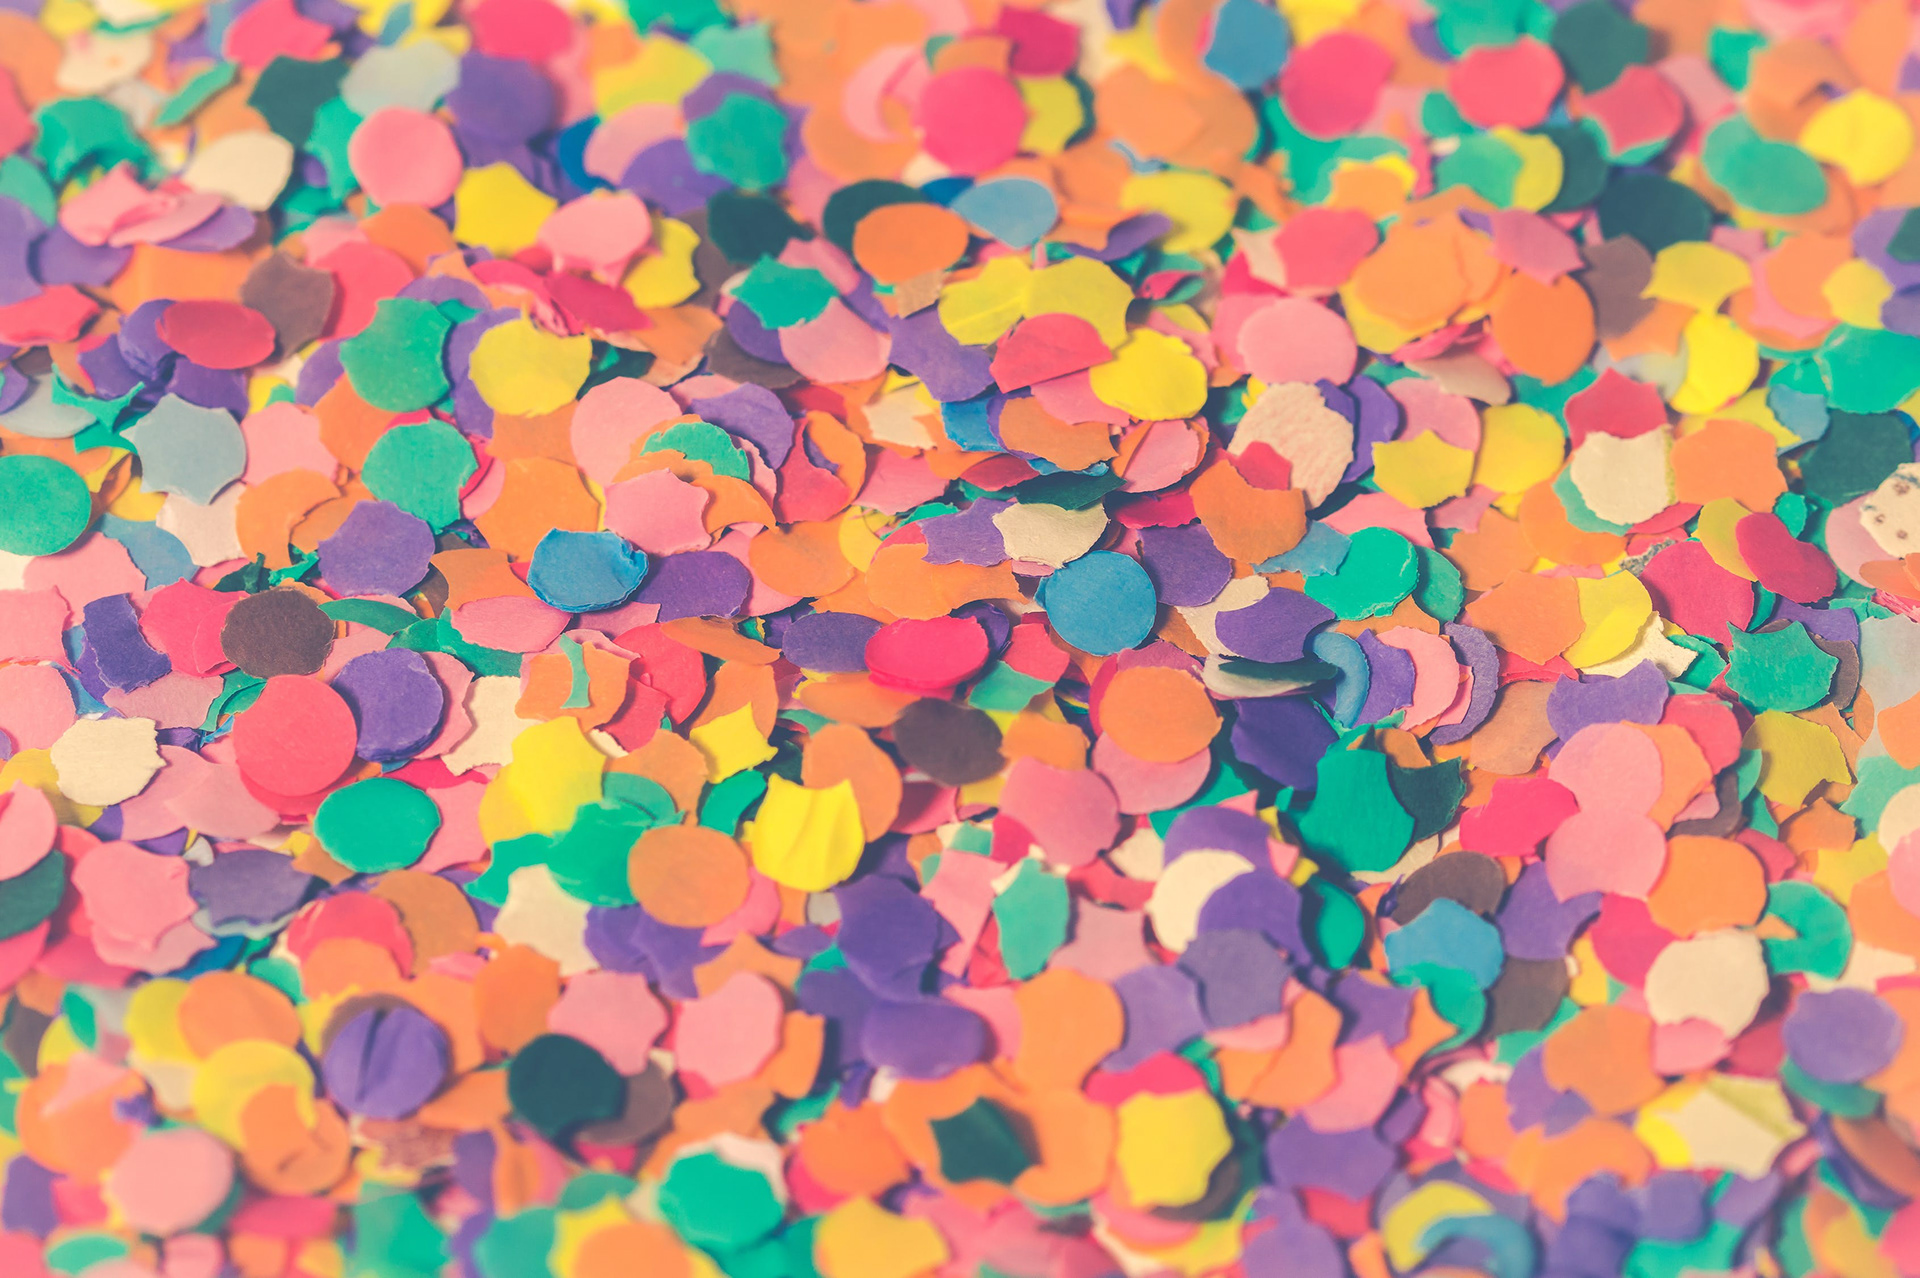
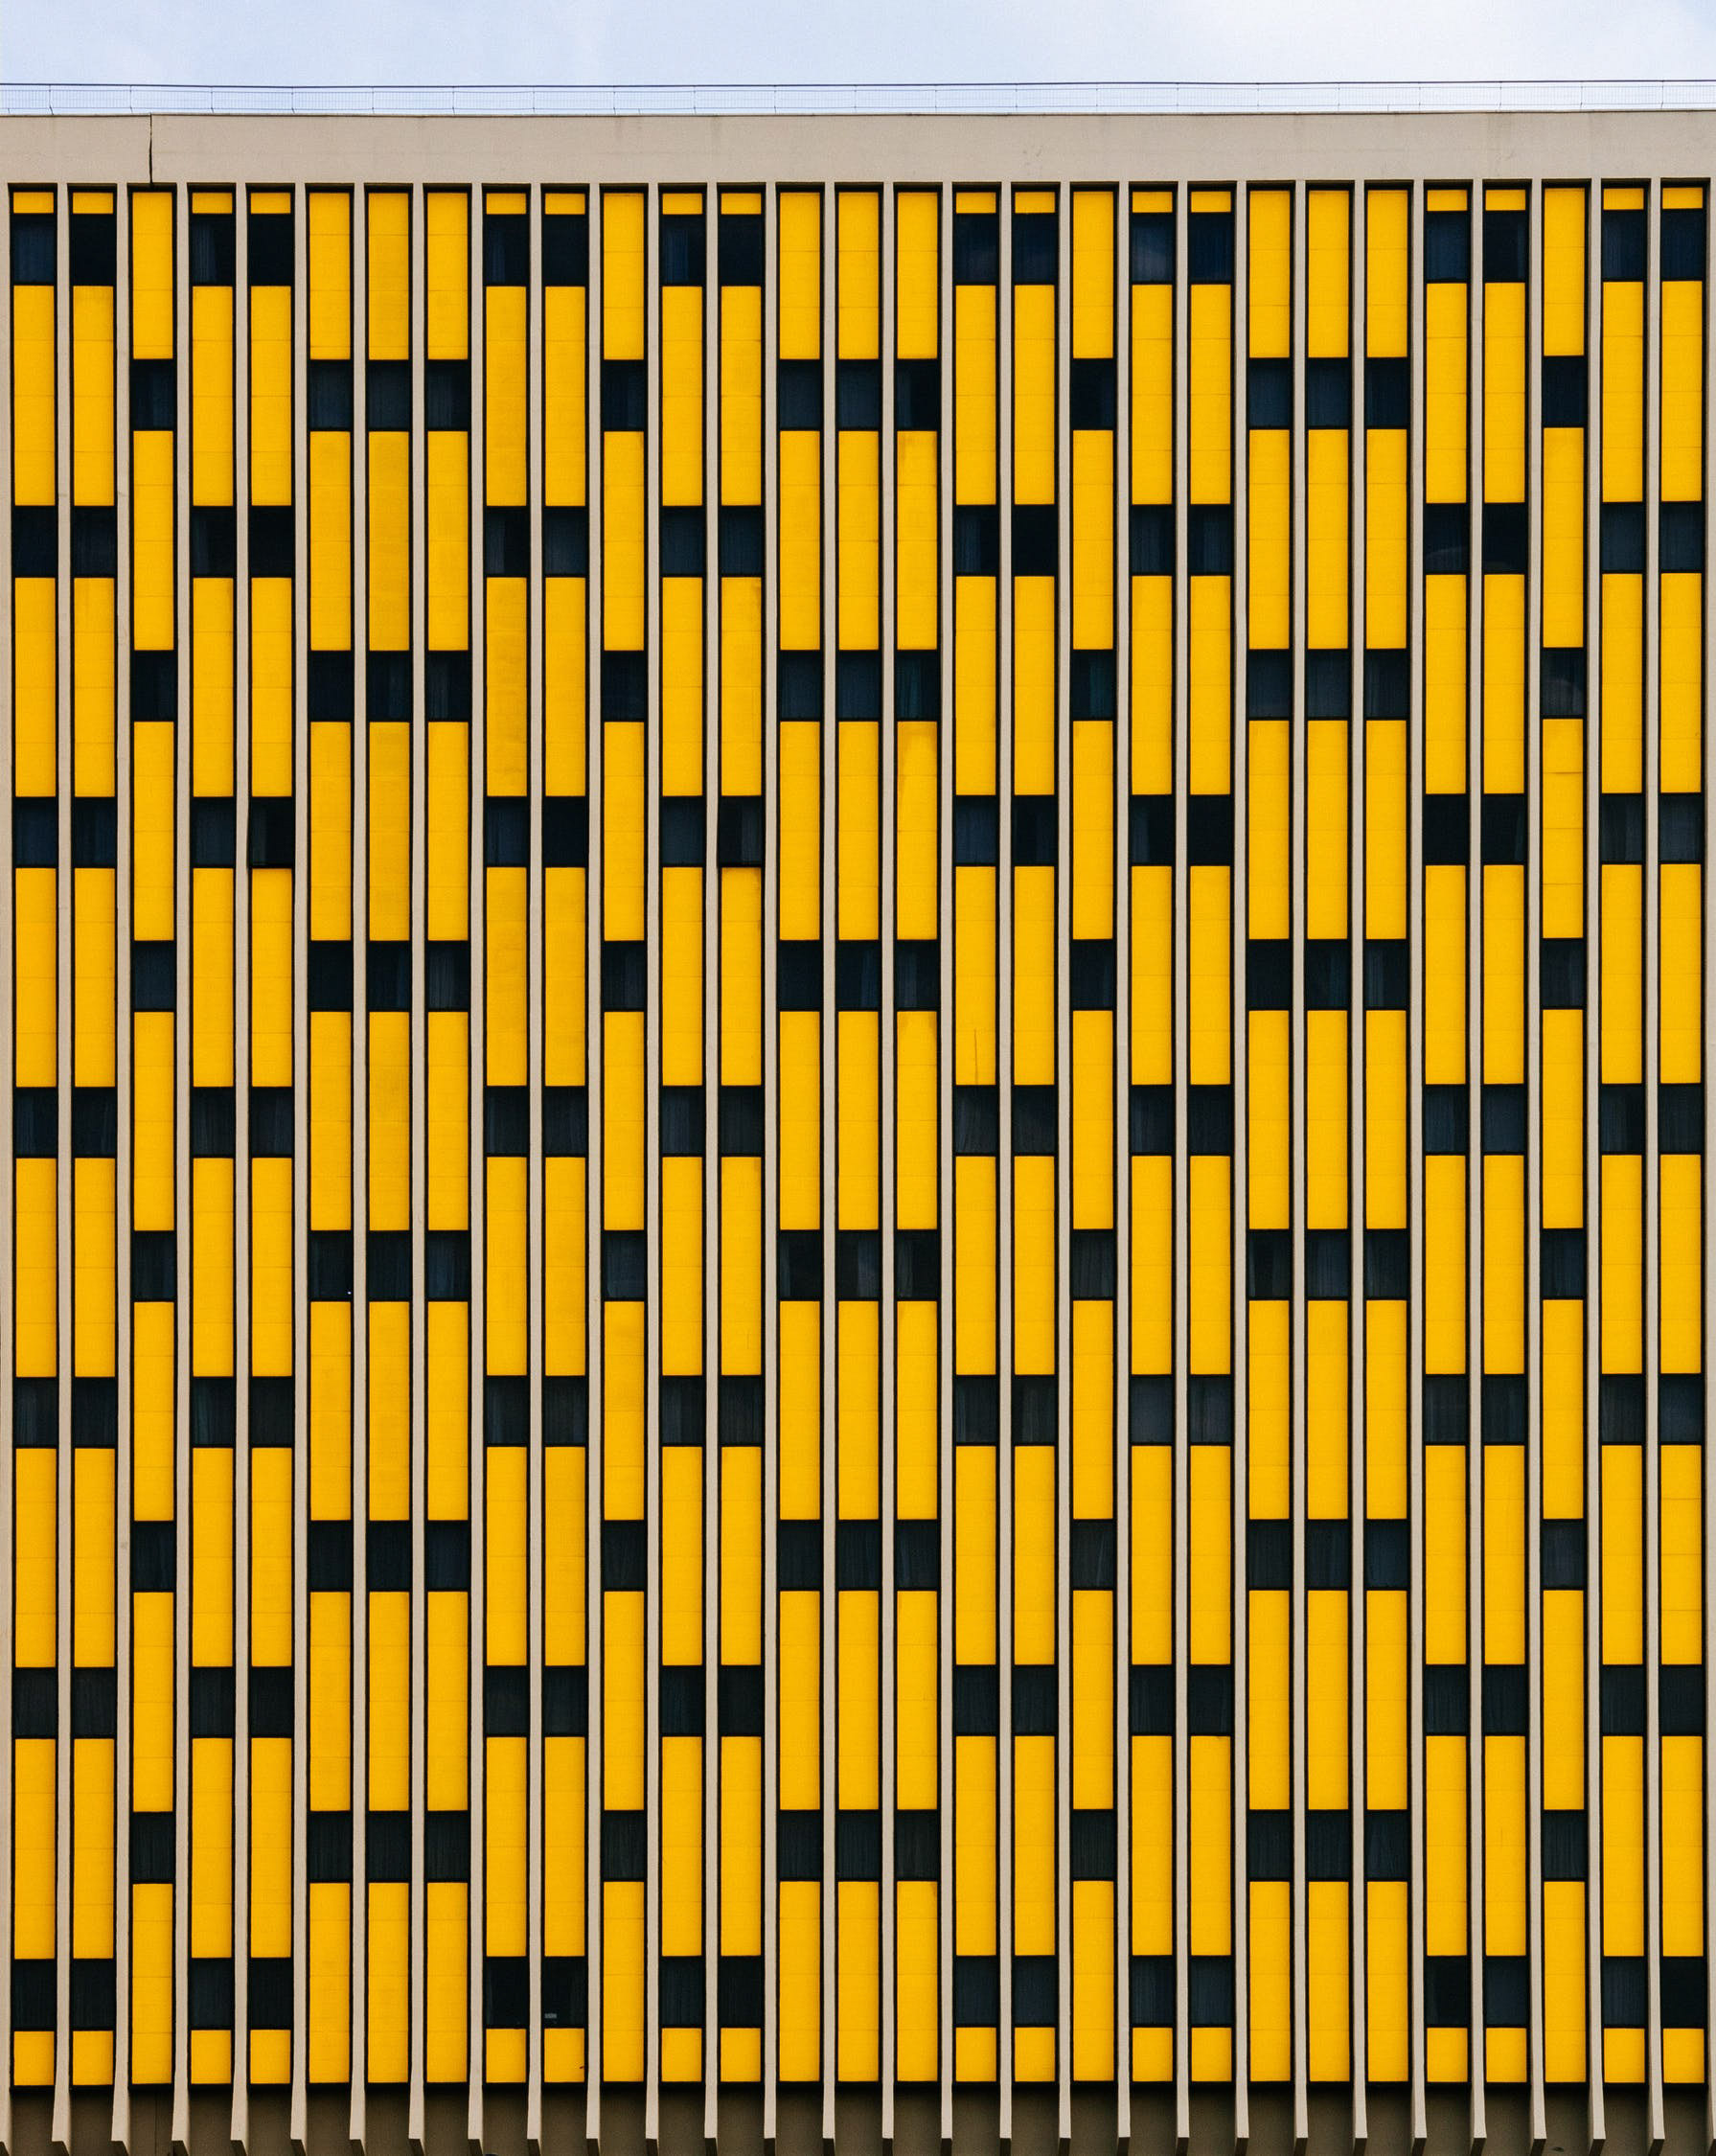
PEXEL
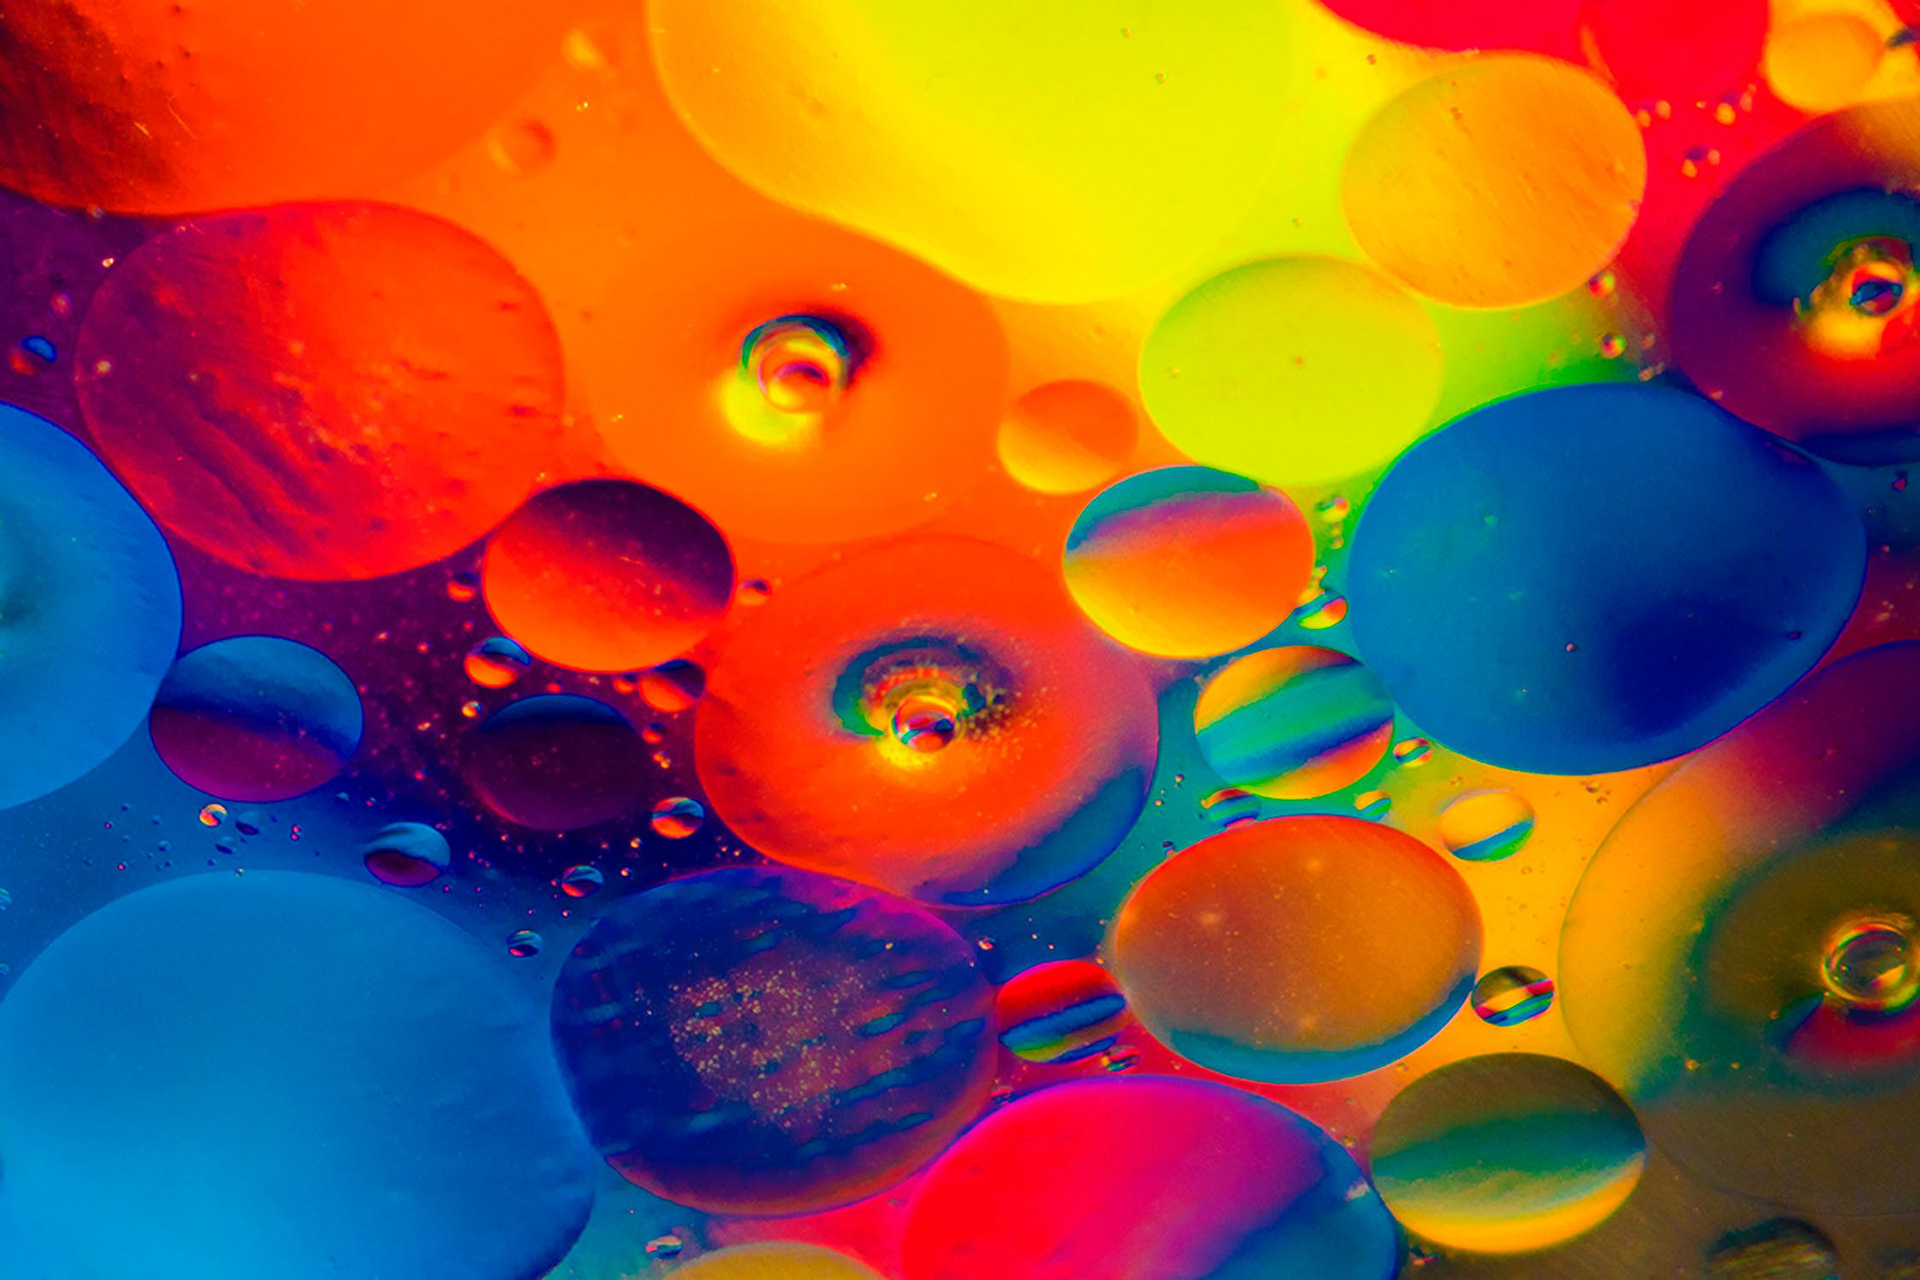
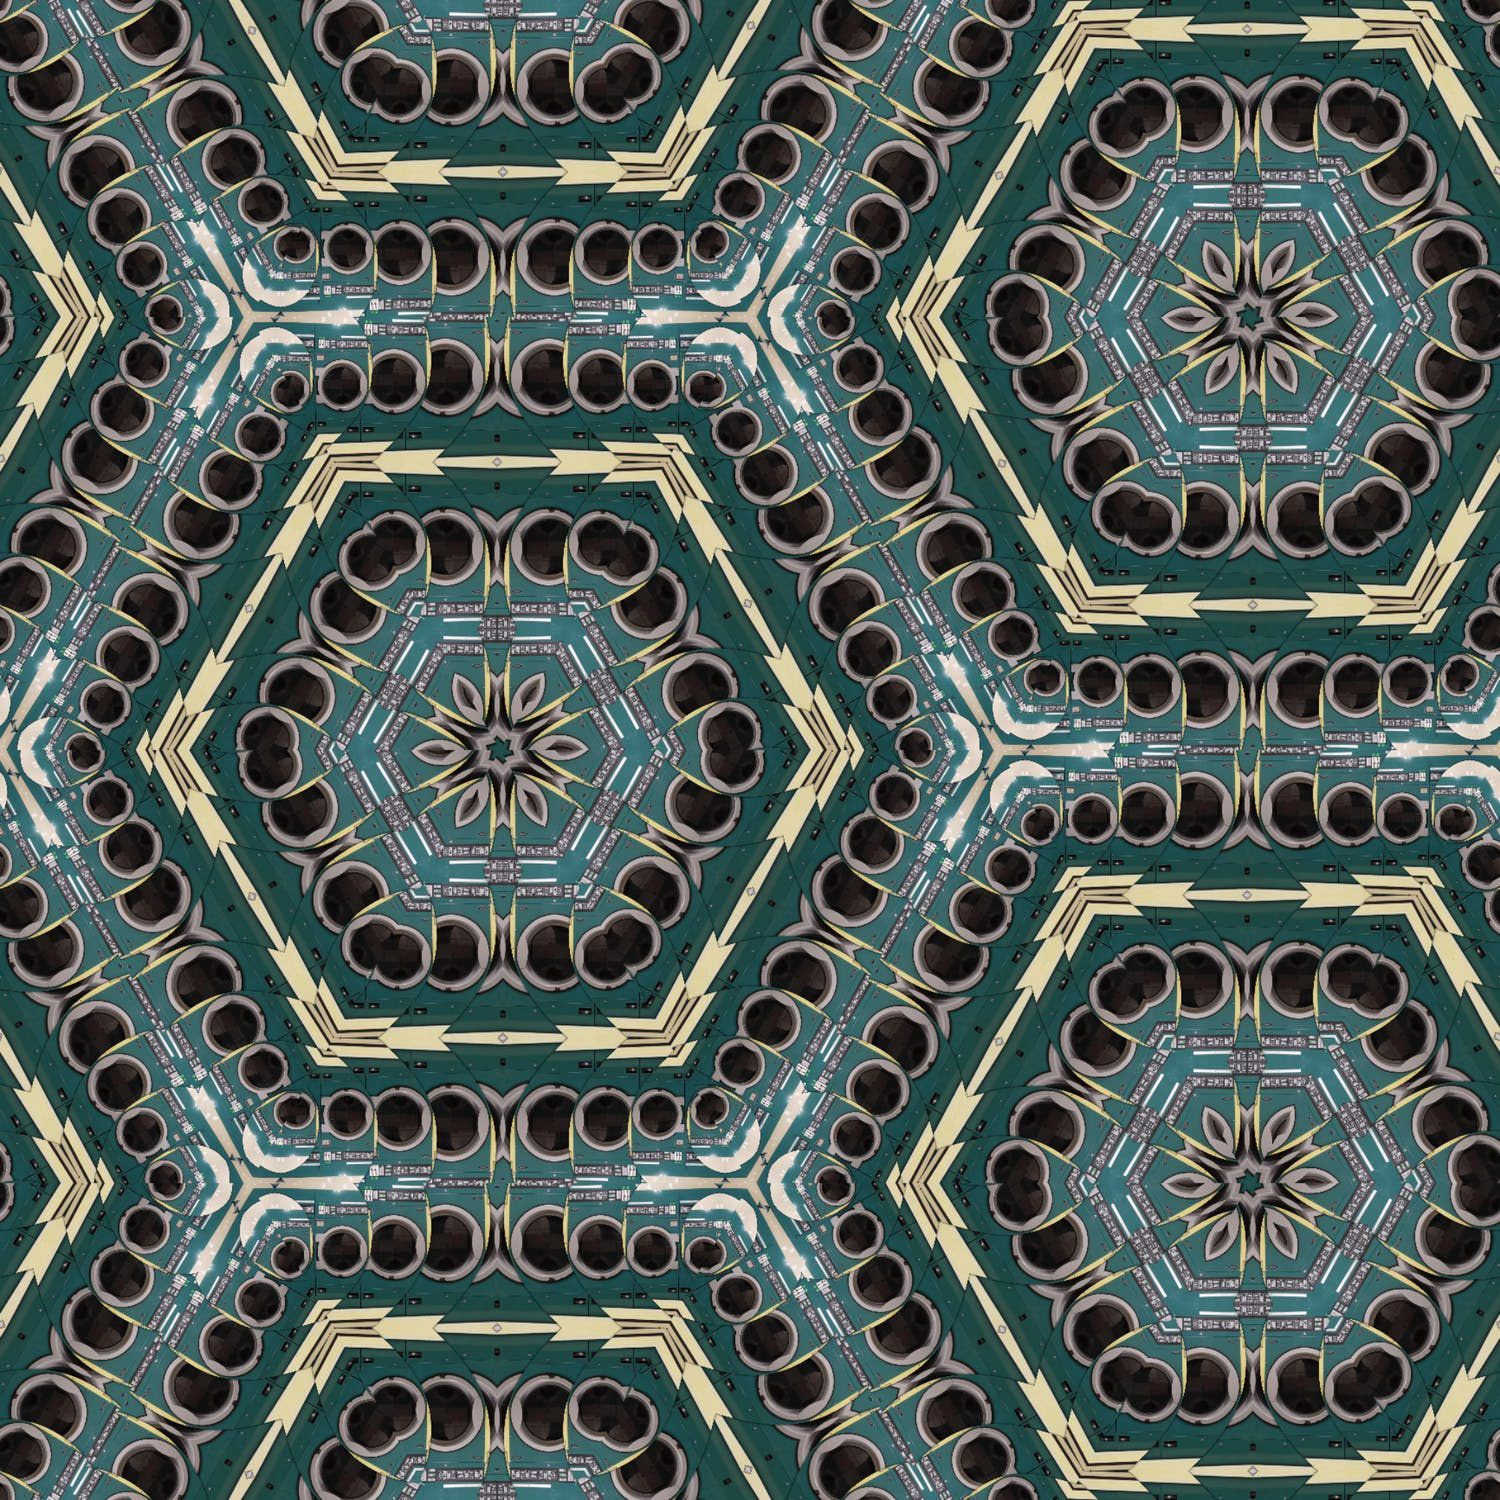
PEXEL
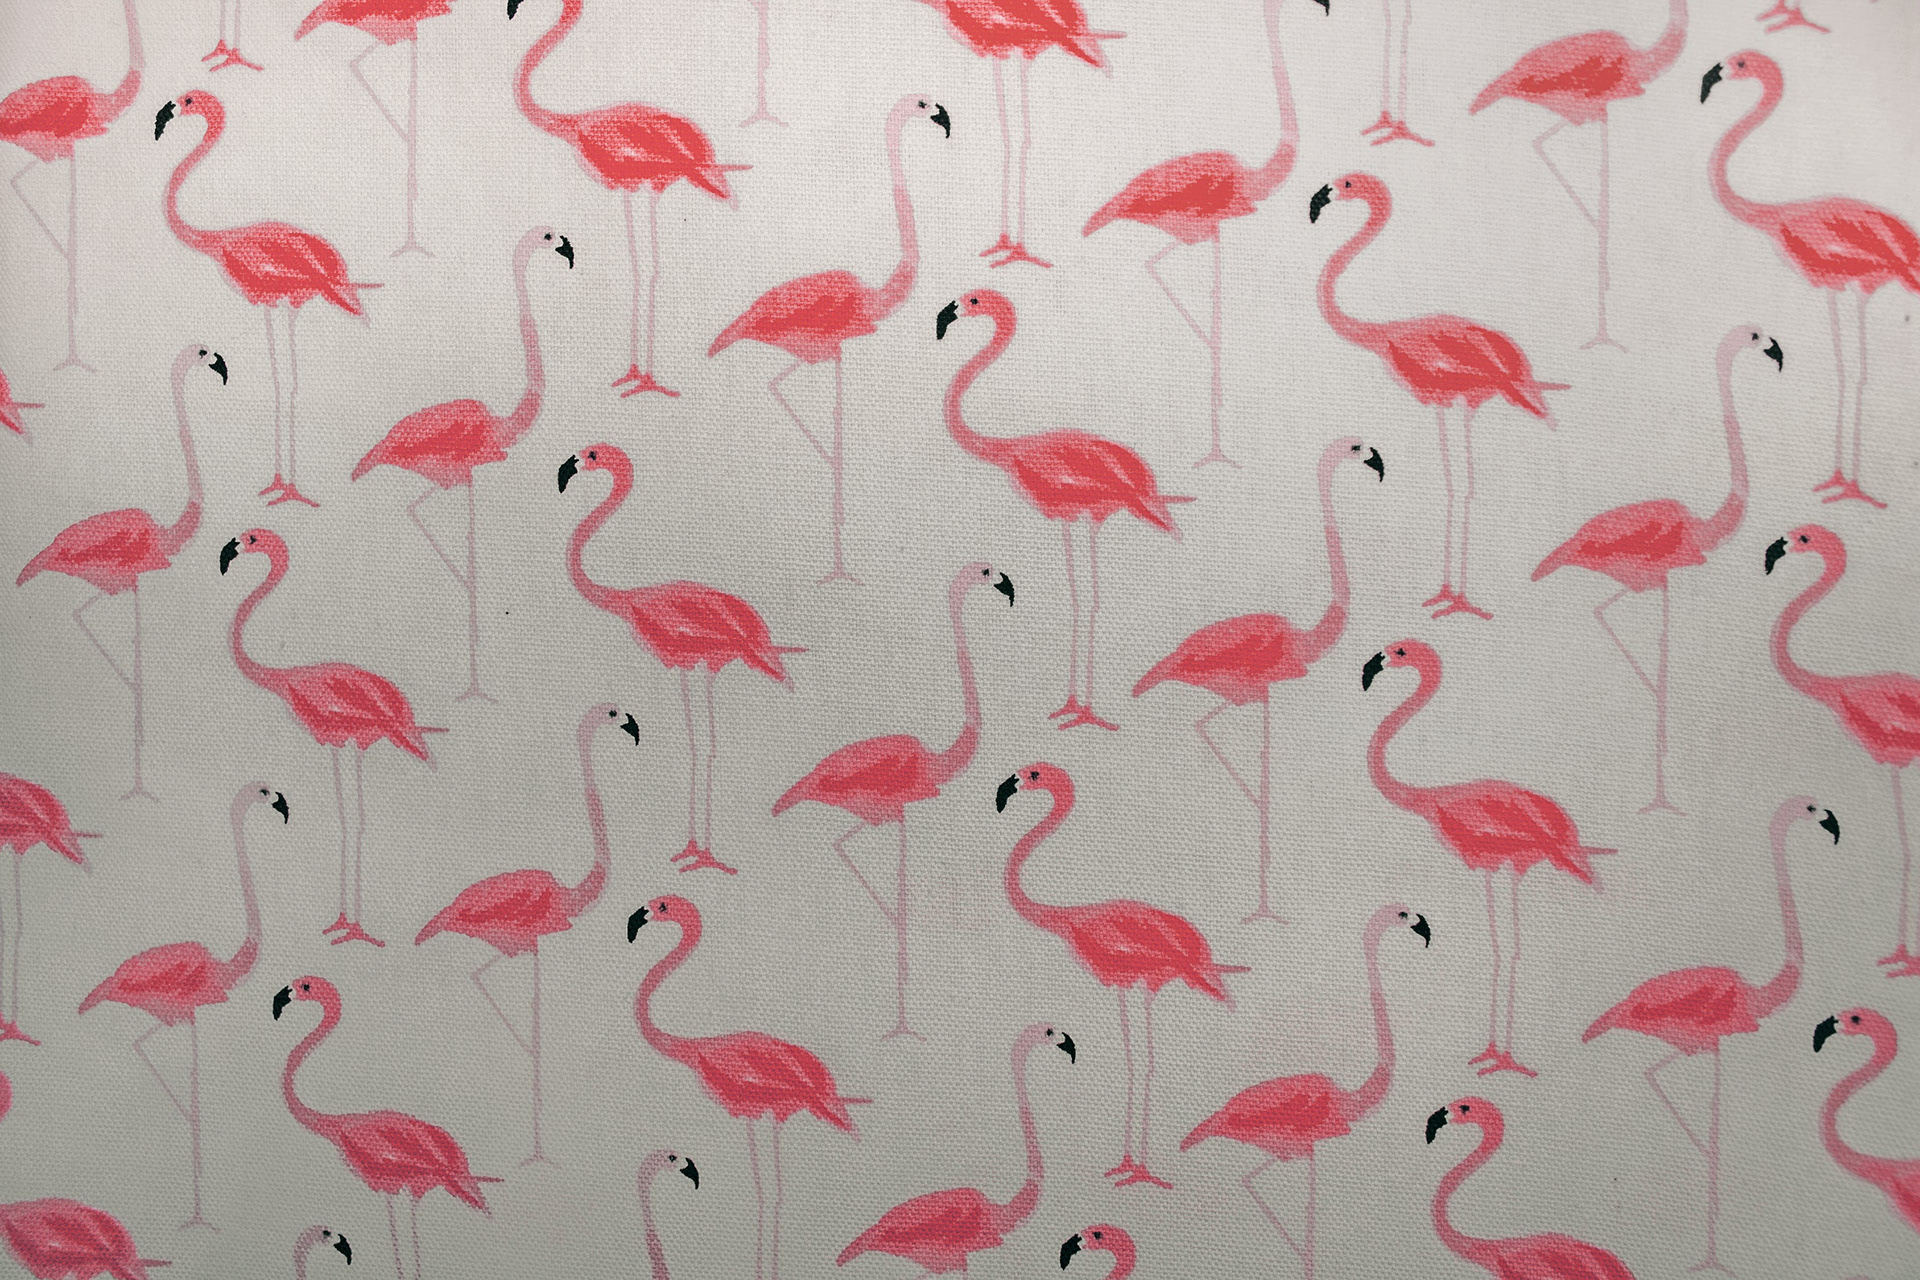
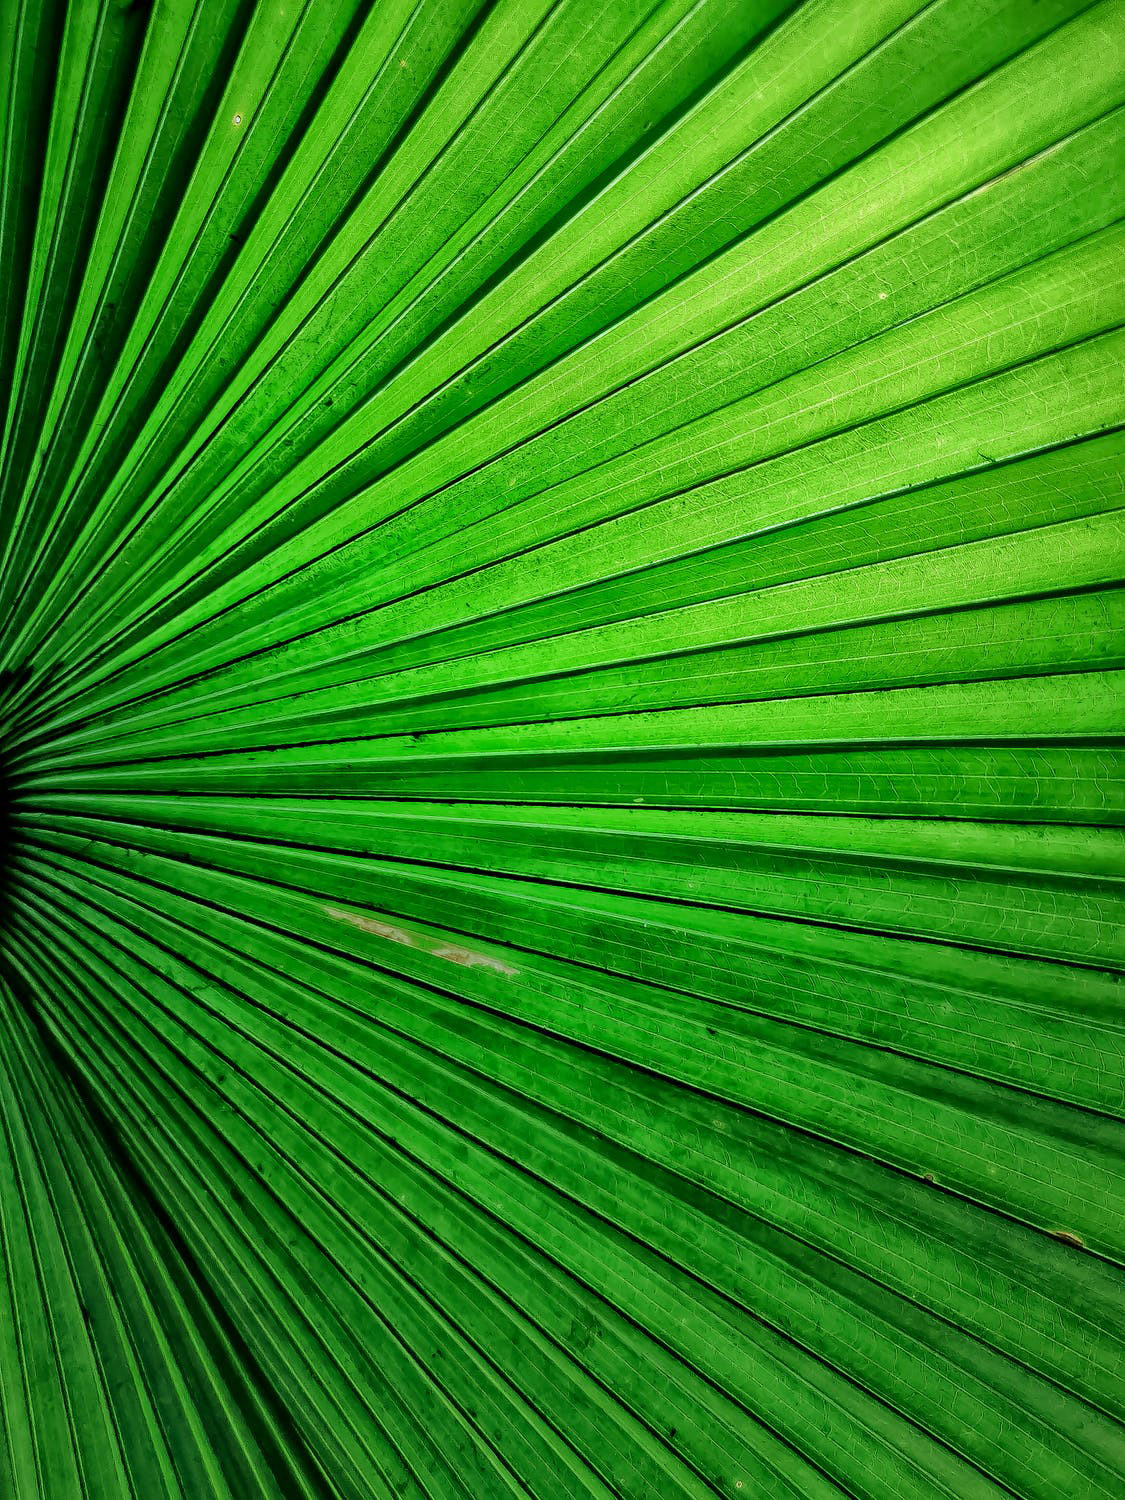
PEXEL
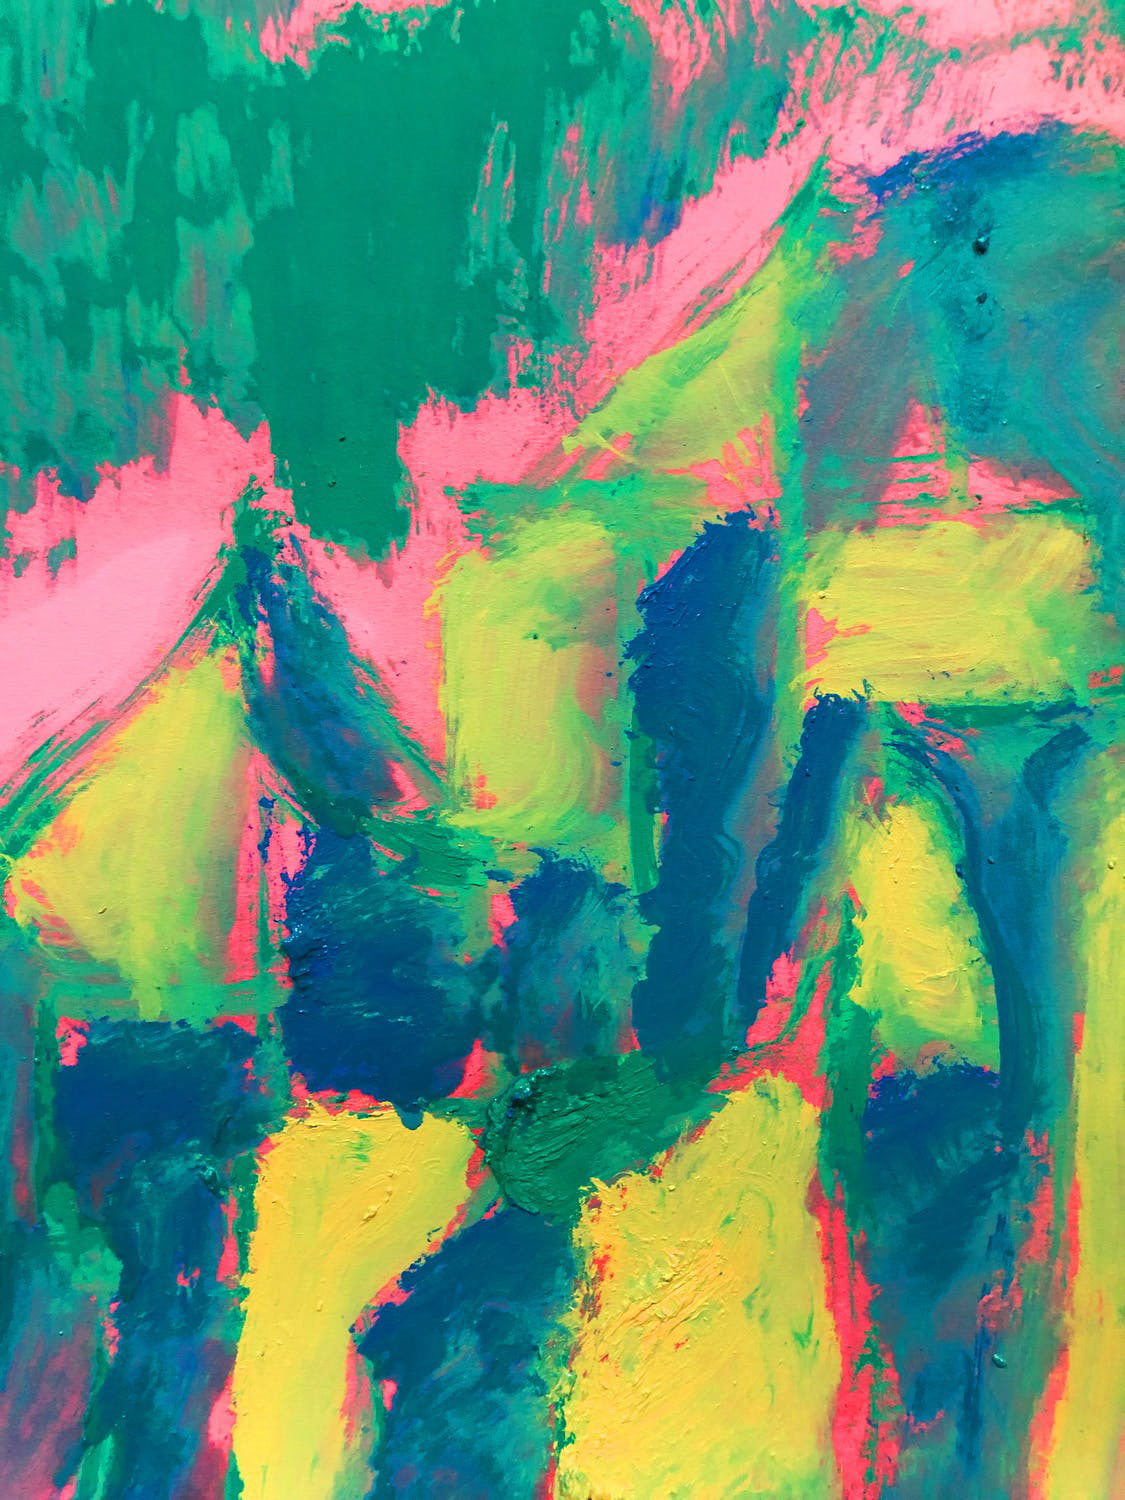
PEXEL
PEXEL

PEXEL
PEXEL
PEXEL

PEXEL
PEXEL
PEXEL
PEXEL
PEXEL
PEXEL
PEXEL
PEXEL
PEXEL
PEXEL
Then the image texture maps were saved into the project "source images"
Project (maya)
->
sourceimages
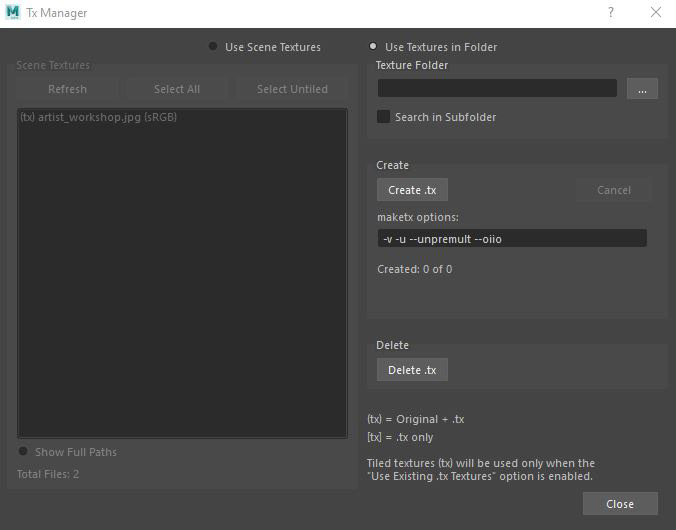
Then used the Arnold Tx Manager to create the .jpg images to become .tx format.
Arnold
->
Utilities
->
Tx Manager
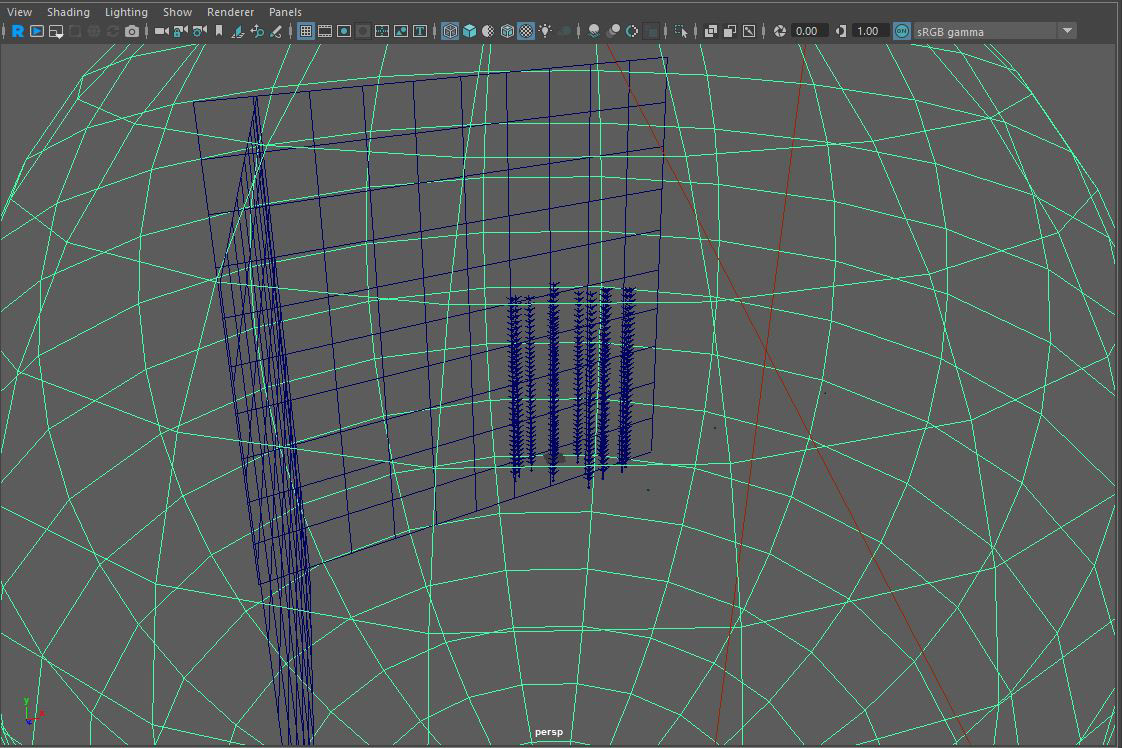
Maya Scene
The scene was created with a HDRI using Maya SurfaceShader. With Arnold light as we are using Arnold shader.
The main Arnold Shader's other attributes to create a desired look.
FINAL THOUGHTS
OSL was not very new to me however, it was fun trying to find out how can we use this code. My first idea was using different texture maps to create patterns around the object however, the objects needed to be well UV mapped. However, I wanted to keep it as simple as possible to make the project more concentrated on the OSL. Then my final thought was creating a paper crane as the image textures wrapped around the object very well like if were creating origami using the same magazine or a paper with different patterns. It is very interesting to find the image textures inside each crane.